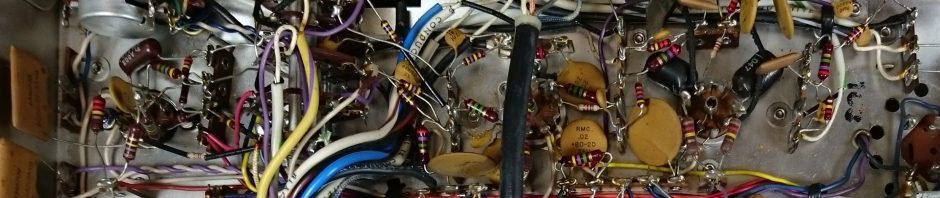
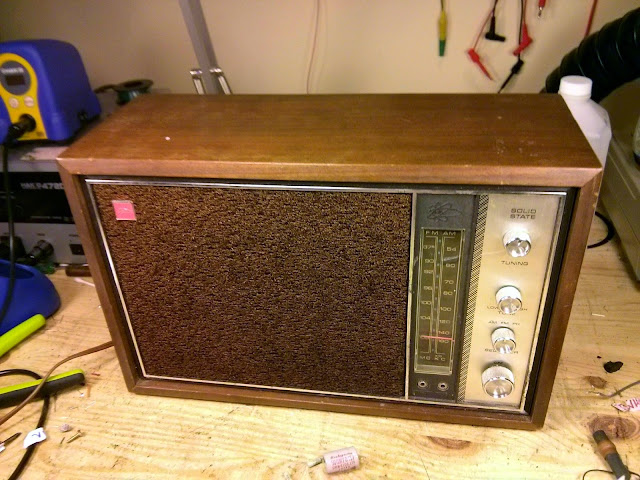
I recently got to work on a little tabletop transistor radio from the late ’60s, maybe 1970 at the latest, from Toshiba: the 11H-540F. Not the catchiest name, but it was near the top of its model line-up featuring 11 transistors, AM and FM, and a line input. Audio power output about 1.4W into a 4 Ohm speaker.
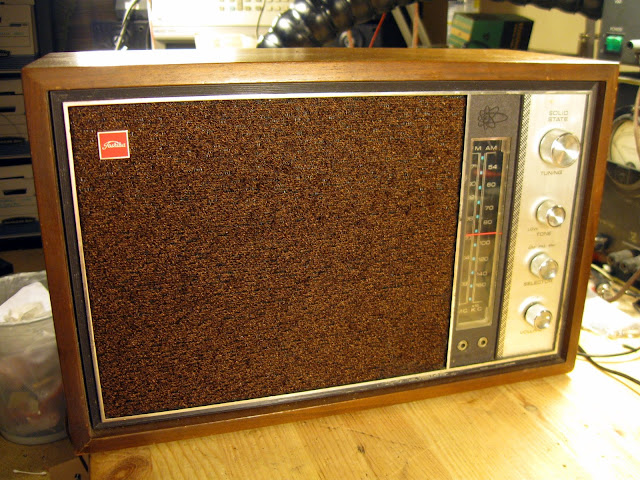
It’s the transistor-age equivalent of a personal radio from the tube era. Solid middle of the road performance and a decently stylish package. Its owner was reporting that it wasn’t sounding that great, and she got an electric shock when hooking up an iPod to the back. It also had a lot of noise when first turned on, and the band switch was dirty and wouldn’t stay in one position. Basically it just wasn’t working well at this point.
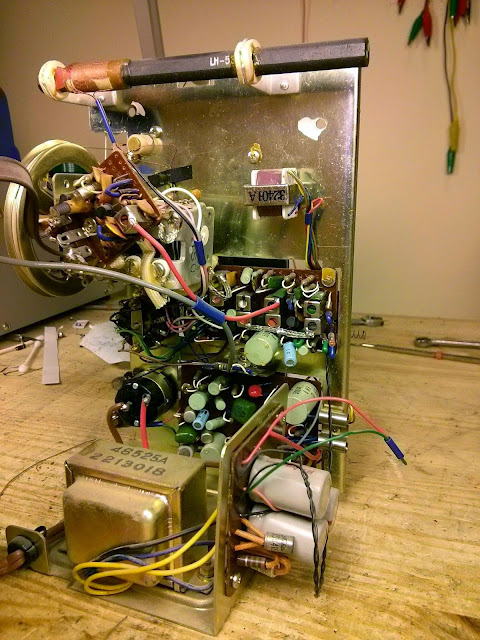
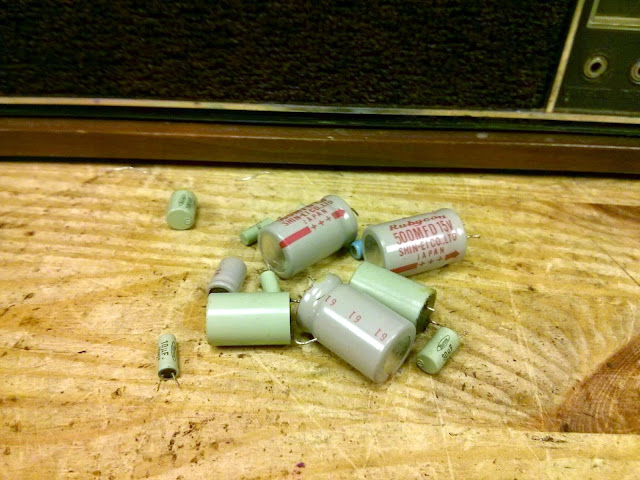
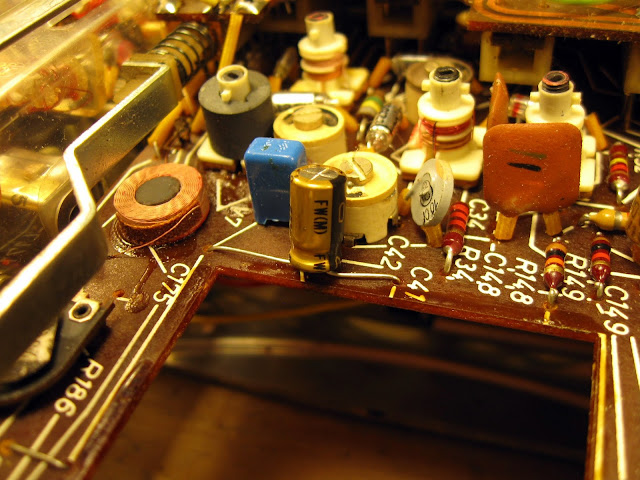
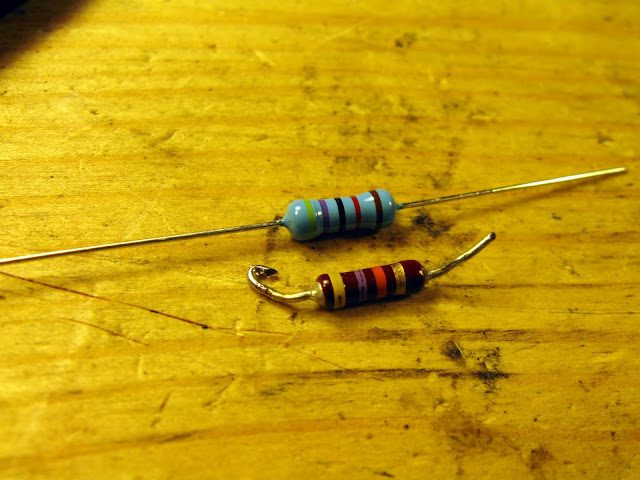
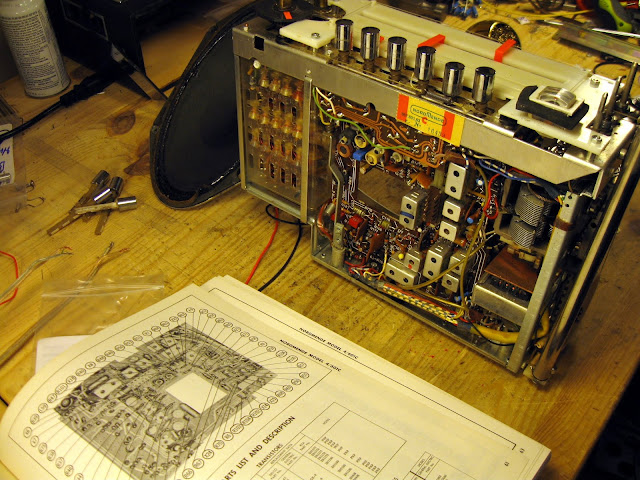
I pulled the chassis out to get started. Definitely time for a rebuild. This 500 uF 6V capacitor had cracked and started leaking out the top.
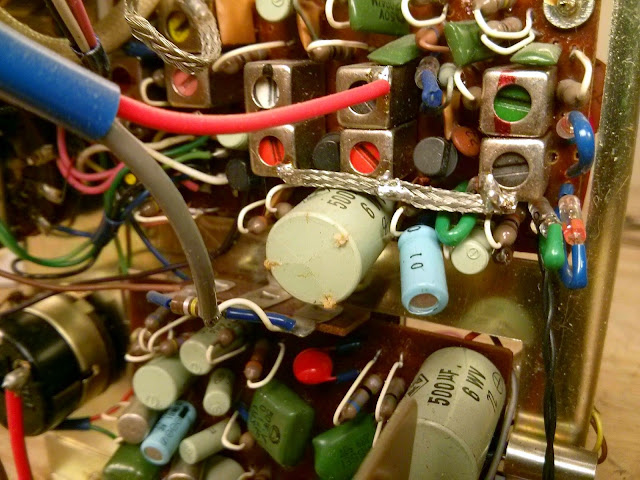
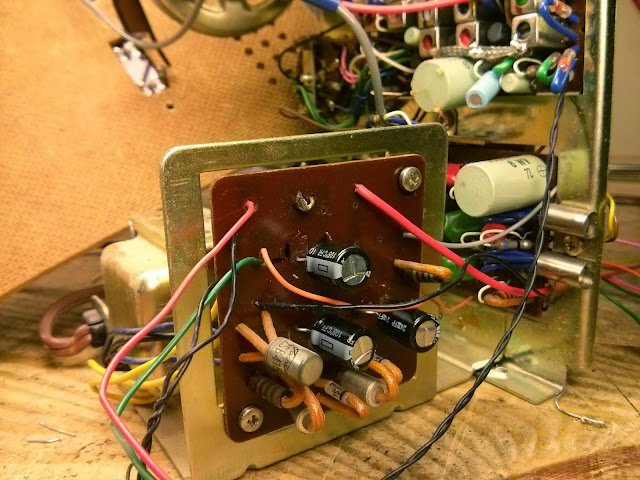
The power supply board, with one pass transistor and a set of rectifier diodes. Replaced the 500 uF 15V capacitors with new 470 uF 16V models.
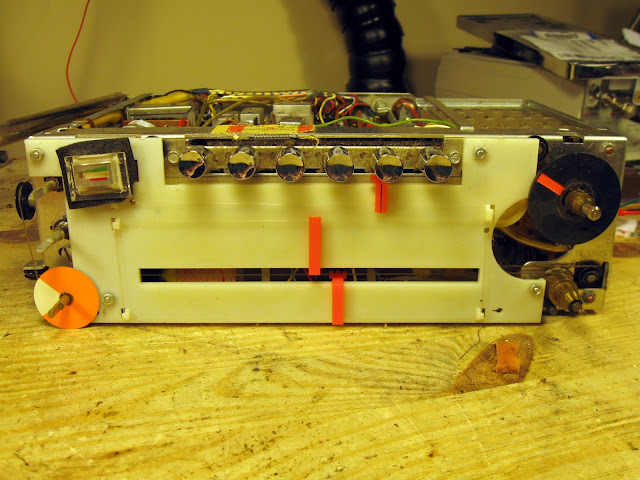
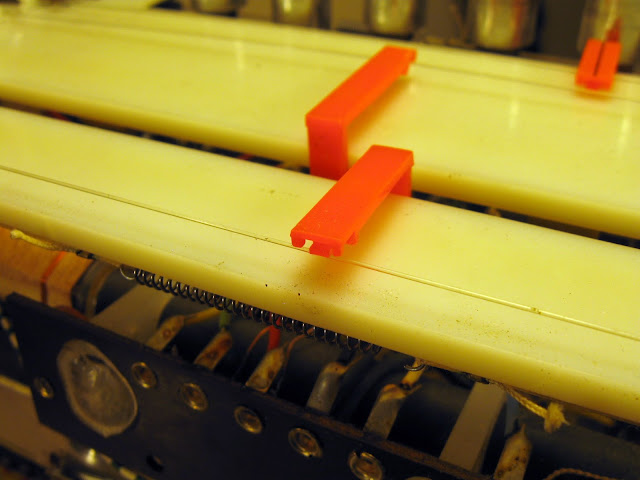
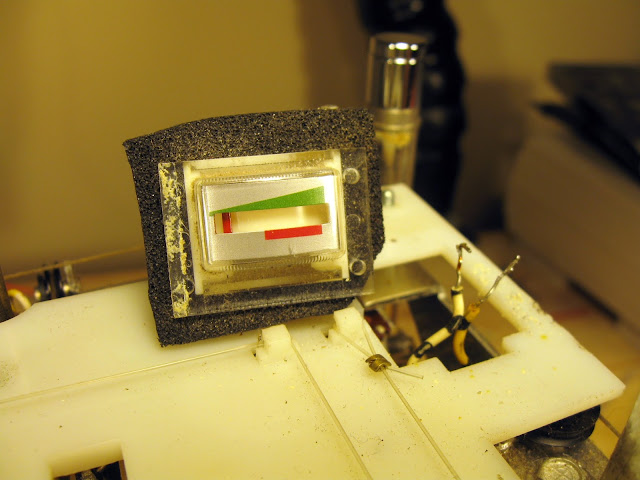
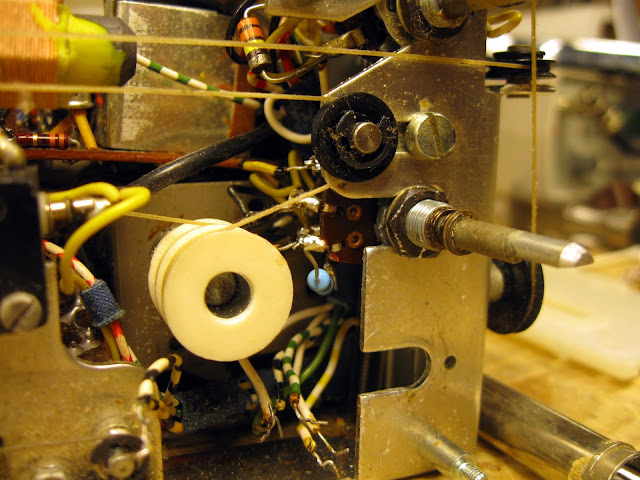
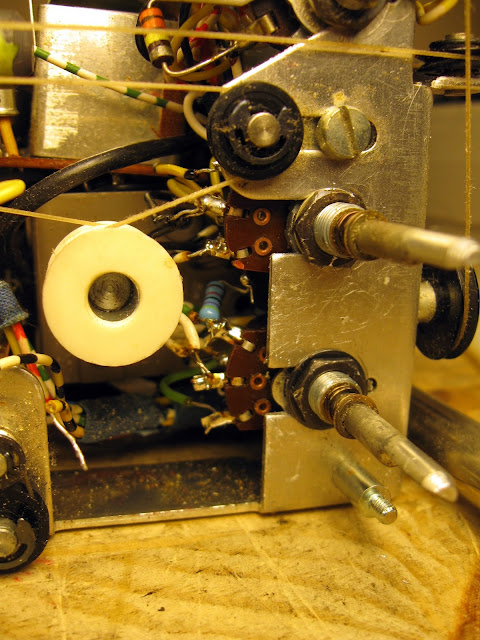
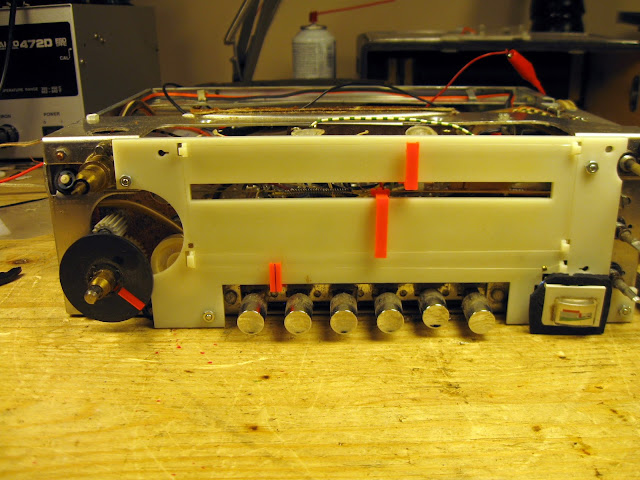
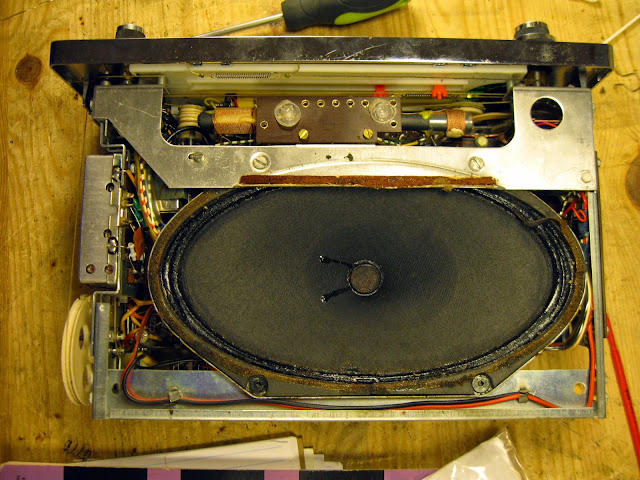
To work on the rest of the boards, the dial face has to come off:
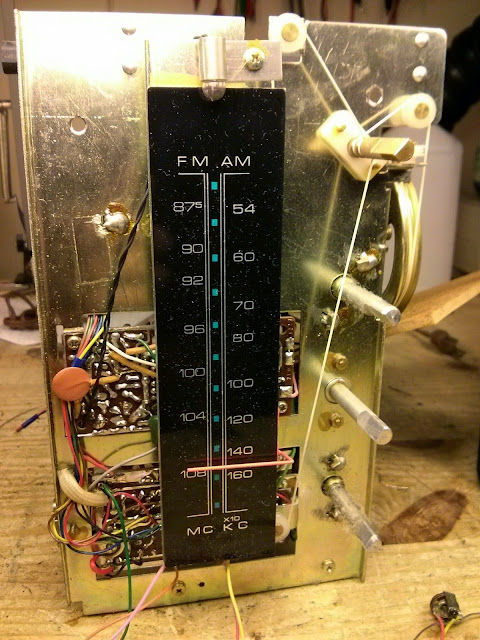
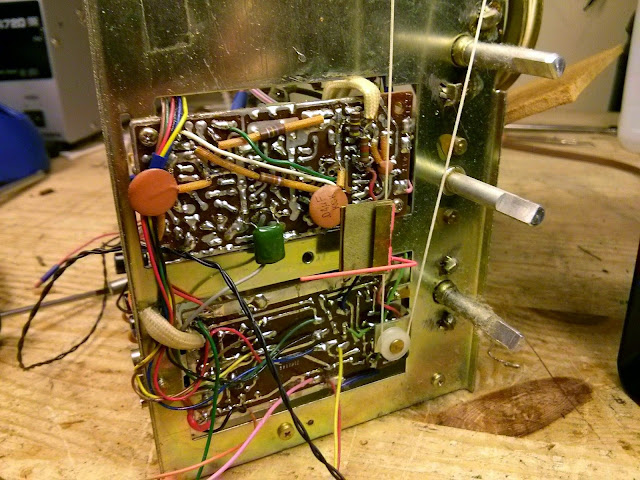
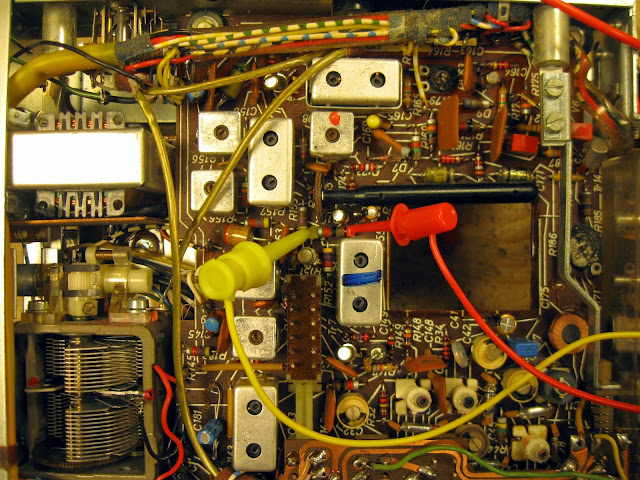
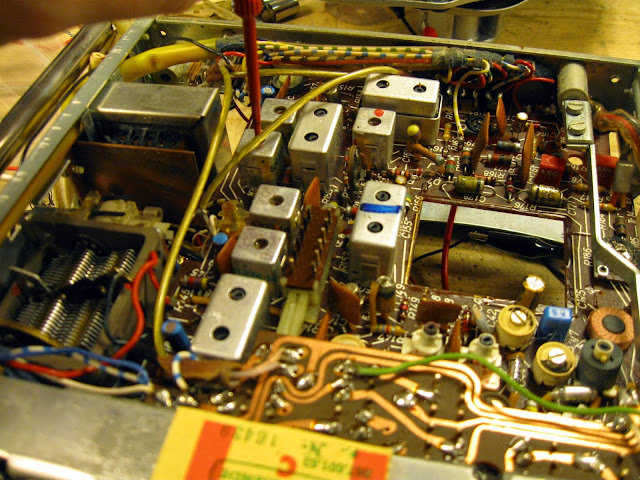
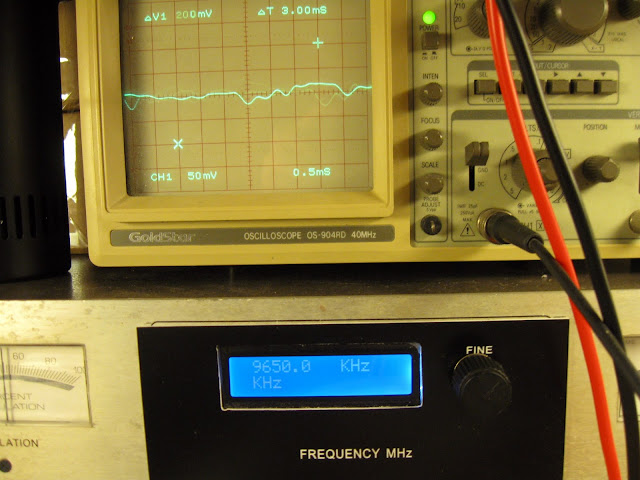
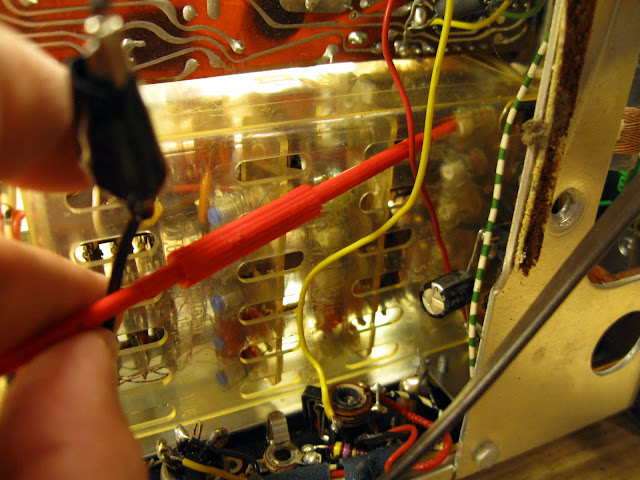
In progress replacing components. I’d power up every few capacitors just to check, since these very early PCBs can develop cracked traces very easily. By checking regularly, I’d know if a trace broke with the last component I installed. Fortunately, none did!
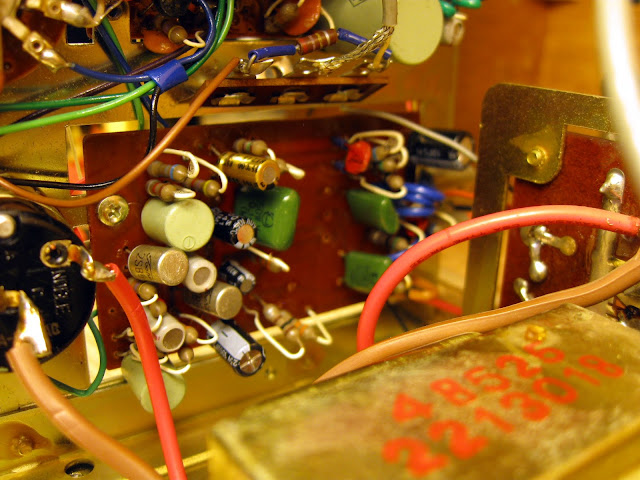
Ultimately, everything ended up getting replaced.
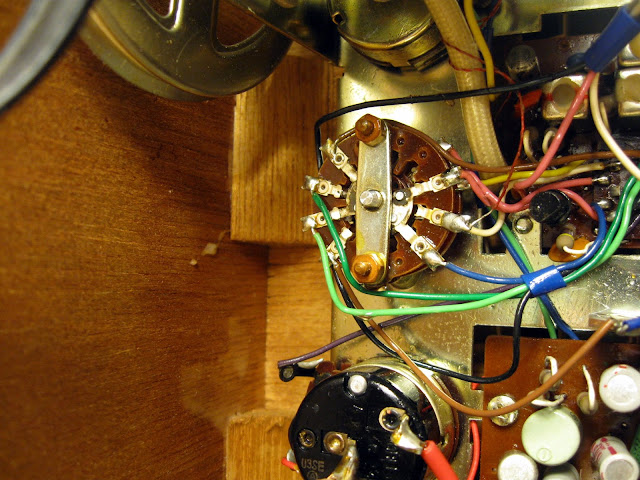
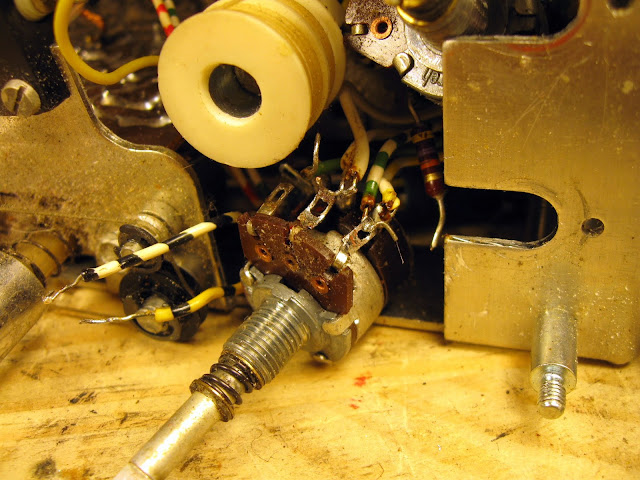
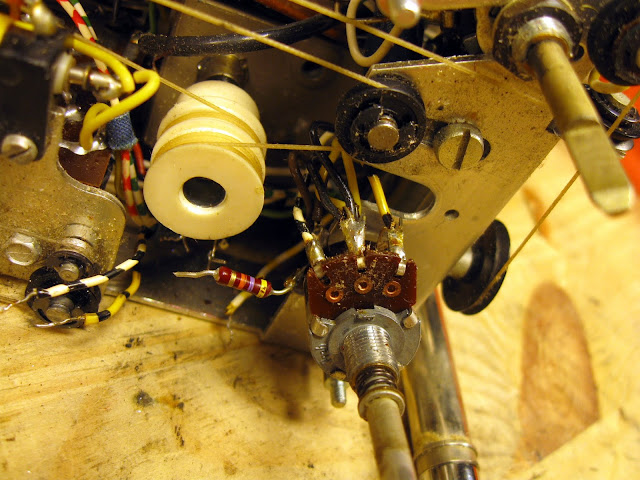
A shot of control cleaner into the band switch and into the volume control cleaned up the scratchiness and intermittent connection. With all new caps, the static and noise on turn-on was completely gone, too.
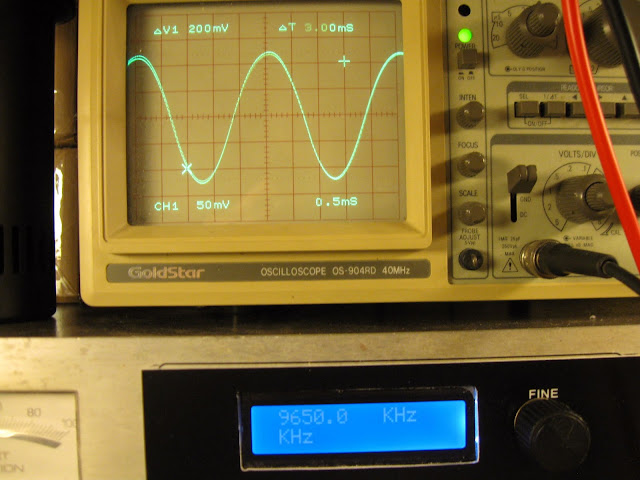
It’s back to like new condition. No more shocks, no noise and crackling, no randomly cutting out and needing to fiddle with the switch. Just a warm vintage sound. This radio is rated for 1.4W max into its internal 4 Ohm speaker, and it managed this at around 2.5% THD. That’s after adjustment, but the nature of the distortion, the frequency response, and the speaker setup meant that it actually was still a pleasant sounding and non-fatiguing audio source. Perfect for background music in an office, for instance. It looks pretty sharp, too, with the atomic design above the dial and a nice wood cabinet and reddish grill cloth.
Here’s to many more years of happy listening!




What do you get from a $25 multimeter?
Fred Clift wrote over on his blog about why it’s worthwhile to pick a more expensive multimeter. He’s comparing a $200 Fluke to a $6 Harbor Freight multimeter, which really is a no-brainer. I’m not sure the Harbor Freight model would be safe to use on any of the higher range measurements with those whispy, poorly insulated test leads.
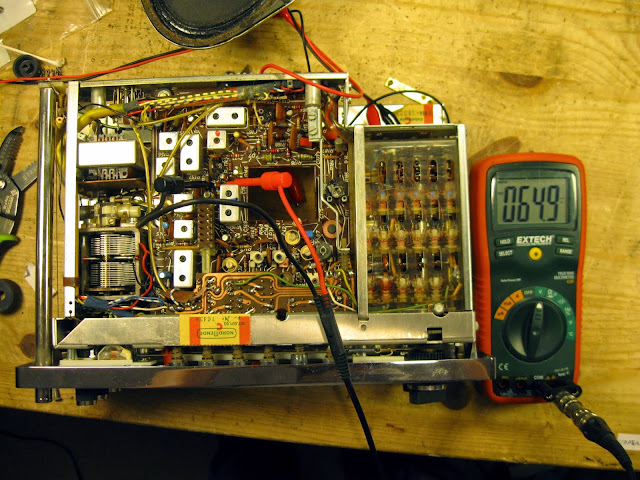
I use a few mid-grade meters for basic bench measurements and was interested to see how they compare with the Fluke 87V and the Cen-Tech from Harbor Freight.
I use the Mastech MS8268 meter which I recommended in my “Getting Started with Basic Tools” post. It’s durable, rugged, and costs only $25. Really, it’s about what I expected to find. As you go down in quality you lose accuracy, but the Mastech meter has all the same functions as the Fluke – just not quite as tight.
The Fluke does have some cool features that Fred picks out. It will tell you min/max/average over an interval, faster continuity beeps to quickly check a strip of connections, and a higher voltage continuity test that can actually light up an LED. Otherwise, though, the Mastech has the same basic capabilities including 200 kHz frequency measurements. I’ve been able to use that in a pinch as a signal tracer – set the meter’s range to measure frequency, and probe the stages of an audio amplifier. Meter shows the tone? Move on to the next stage.
A lot of applications don’t need 0.05% accuracy on a DC voltage reading, so I stand by my recommendation of the Mastech as a “good enough” meter for most hobby work and vintage equipment repairs. There’s definitely situations where it’s worth it to spend a bit more, though.
Share this: