Today’s Speaker Spotter showing the most interesting speakers for sale on the local Craigslist has a number of rare, unusual, and high-end speakers you’re not likely to find anywhere else. As always, I’m not affiliated with any of these sellers, and if the ad is gone then it’s likely the speaker sold already.
Here’s what’s interesting this week!
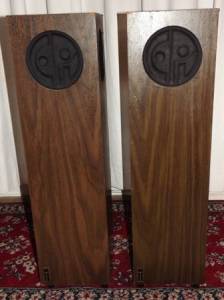
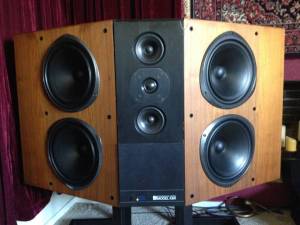
Microtower MT1 Stereo Speakers
$60 in Lakewood, WA
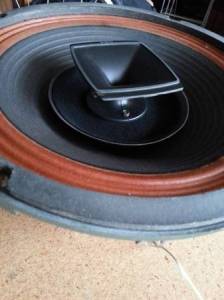
Interesting looking, if somewhat questionable in performance, these speaker towers feature a crossover-less pair of 4.5″ drivers mounted on either side, and a large port on the bottom. Maybe an early example of a waveguide-type speaker enclosure to accentuate the bass response which would otherwise be limited by the driver size? Might be a worthwhile addition to a collection if you’re up for the risk.
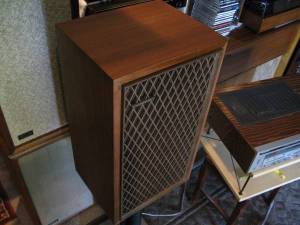
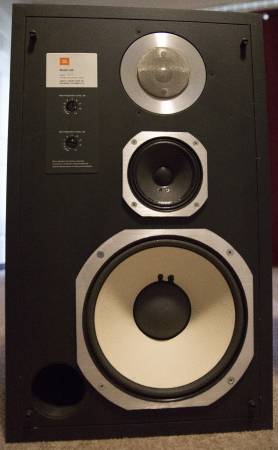
Realistic Nova 10 Speakers
$100 in Kirkland, WA
Radio Shack’s Realistic brand equipment often gets knocked, but their vintage speaker offerings – especially the higher end ones like these Nova 10s – are quite good quality and are fairly collectible. These 50W 2-way speakers feature a tweeter, large woofer, and passive radiator and look to be in very good cosmetic condition.
KEF KM1 Active Studio Monitors
$6000 in Puyallup, WA
These very unusual active studio monitors from KEF are a fully integrated, active design, featuring 4x100W, 2x350W, and 1x400W amplifiers for the bass, midrage, and treble respectively which should provide plenty of headroom for even the most demanding source material, and frequency response from 38 Hz-23 kHz. A little disappointing that with such bass power, the frequency response doesn’t extend down to 20 Hz, but relatively little music actually happens that low anyway so it’s not a huge loss.
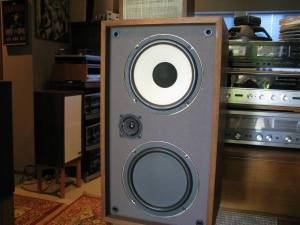
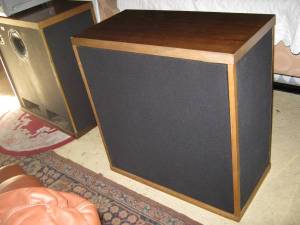
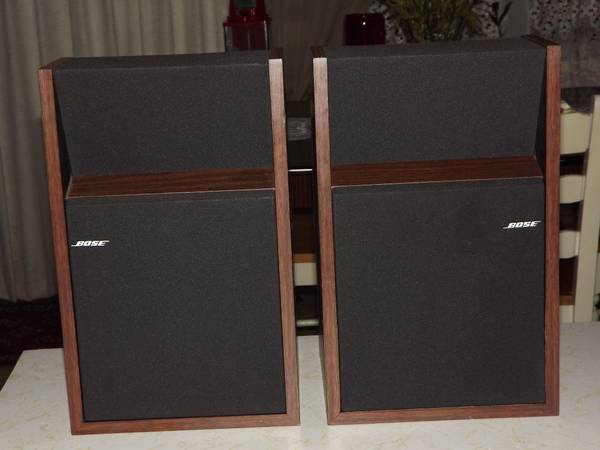
Sansui SP-1500 3-Way Speakers
$140 in Olympia, WA
Swap out a couple of crossover capacitors and you’ll have a fantastic sounding, beautiful set of vintage Japanese lattice-grille speakers. I used to own a set of these myself, they’re great performers when paired with a suitable amplifier, and they really look fantastic in any room.

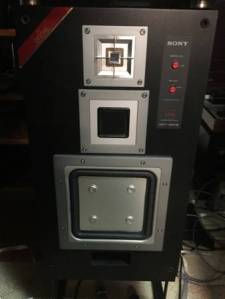
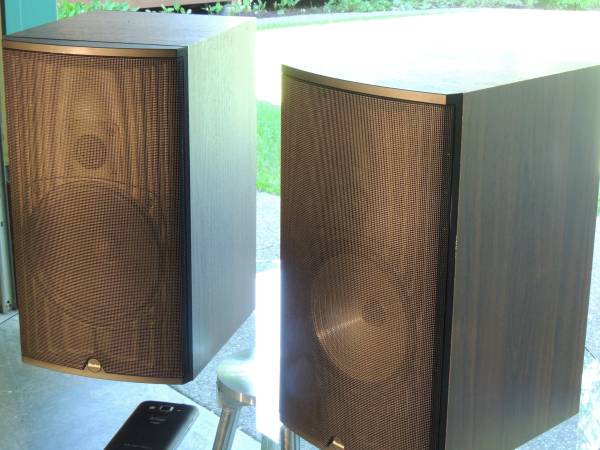
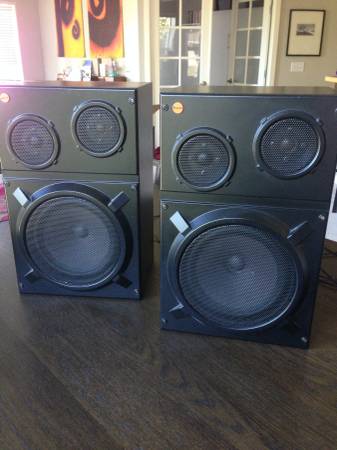
Sony APM-55 Speakers
$500 in the Renton Highlands
Sony doesn’t get a lot of love today (although their yellow Kevlar-coned speakers are actually quite good sounding and have very extended treble frequency response great for EDM, at the expense of being very inefficient) but their vintage offerings were quite well respected. These big, powerful 3-way speakers offer the very unusual set of square-framed woofers and midranges, too. Definitely something different!
Vintage Olson 12″ Triaxial Speakers in Barzilay Cabinets
$300 in Seattle, WA
From the late ’60s/early ’70s, these Olson triaxial speakers were a good attempt to reduce phase distortion and present as more of a point source. They’re very efficient, although don’t always have the flattest frequency response. With a 12″ woofer, midrange whizzer and horn tweeter stacked coaxially these should be a very interesting addition to any speaker collection.
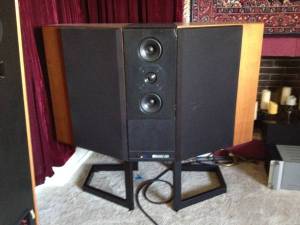
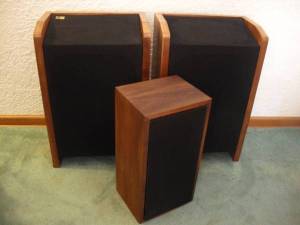
Epicure M201 Speakers
$175 in Seattle, WA
Epicure speakers are known for their construction and sound quality, and these M201 speakers are no exception. The M201s feature a pair of woofers and a pair of tweeters on each cabinet, one mounted forward-firing and one at an angle, to provide a wider and more immersive sound field. Butyl rubber surrounds means there’s no need to re-foam them, either! This listing also comes with a single EPI 100 speaker, “half” of an M201. Maybe a good center-channel?
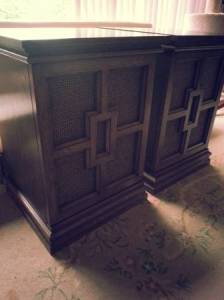
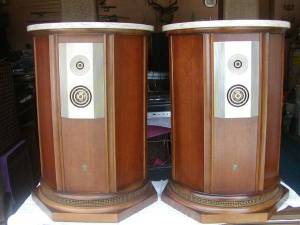
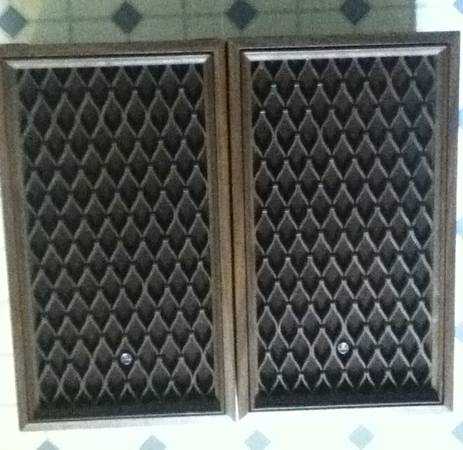
Empire Grenadier 800 Table Speakers
$250 in Olympia, WA
These interesting table-stand speakers feature a front-firing midrange and tweeter, a downward-firing 15″ woofer, and an interesting columnar design with marble tabletops on both. They look to be in great shape, and might be a good addition if you’re looking to add some sound to a room where more obvious speakers might not fit in. Reports on the Internet are that the woofer on these often comes out of alignment due to the effects of gravity on the woofer while being stored, but it can be re-seated easily enough by turning them upside down and playing a low bass note through them for 24-48 hours. Likely not an issue if they’ve been played recently, though!
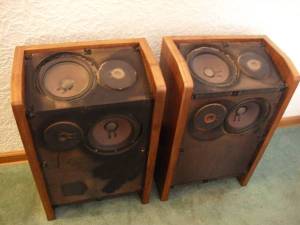
STR Omega II Speakers
$239 in Snohomish, WA
A fairly rare speaker from the ’70s, these stretched the upper boundaries of a home speaker and were getting into the range of PA/commercial speaker territory. Featuring a pair of downward-firing 12″ woofers, a 6″ midrange and dome tweeter in front, and a horn tweeter firing to the rear these certainly will offer a lot of sound. On the back are provisions for bi- or tri-amping, depending on your setup, or you can use the common input and internal crossovers. Big and heavy, but very interesting!
Infinity Reference RS 2.5 Speakers
$1275 in Des Moines, WA
Infinity speakers, especially their older vintage models, are fantastic in quality and often feature electrostatic/ribbon midranges and tweeters, the RS 2.5s are no exception. These freshly-refrubished units feature a large 12″ woofer and electrostatic mid-ranges and tweeters in an array. These are one of the smaller Reference RS series, but certainly pack a punch. One benefit is the active equalizer required for correct operation is integrated directly into these speakers, unlike other bigger models where it’s a separate box that can get lost or damaged. I’d buy these if I had room for them in a heartbeat!

Like some of these speakers? Click through to the ad and contact the seller!


Are Kids the Future of Ham Radio?
Bob K0NR has an alternate take on how to keep ham radio alive as many of its practitioners age up:
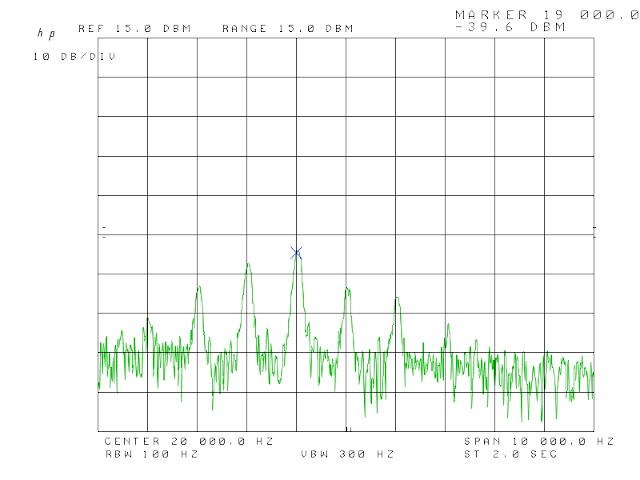
He’s got some data to back it up from the tech license classes he teaches:
Hard to argue with those numbers. I passed my tech (and general) at about 25, but it was definitely for those reasons: emergency communications, backcountry communications (such as while skiing), and relating to my existing electronics hobby. In high school and college, I had way too much going on – not to mention not as developed of an interest in electronics in the first place – to pay any attention to ham radio.
Not that I’m doing much better now, my only operation so far has been a handful of sessions on 70cm Simplex with cheap HTs to communicate with another vehicle in something of a convoy situation.
Are you a ham radio operator? What do you think?
[The K0NR Radio Site]
Share this: