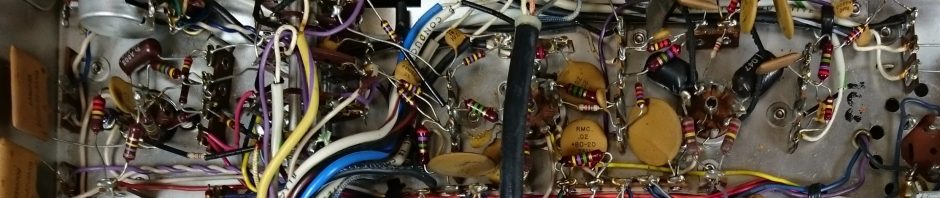
I recently got to work on a little tabletop transistor radio from the late ’60s, maybe 1970 at the latest, from Toshiba: the 11H-540F. Not the catchiest name, but it was near the top of its model line-up featuring 11 transistors, AM and FM, and a line input. Audio power output about 1.4W into a 4 Ohm speaker.
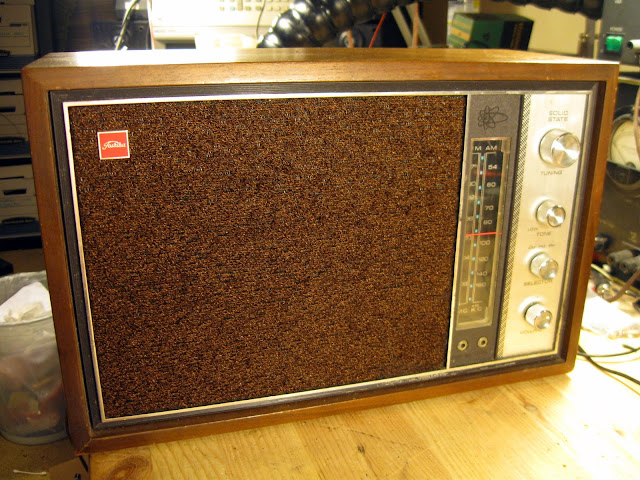
It’s the transistor-age equivalent of a personal radio from the tube era. Solid middle of the road performance and a decently stylish package. Its owner was reporting that it wasn’t sounding that great, and she got an electric shock when hooking up an iPod to the back. It also had a lot of noise when first turned on, and the band switch was dirty and wouldn’t stay in one position. Basically it just wasn’t working well at this point.
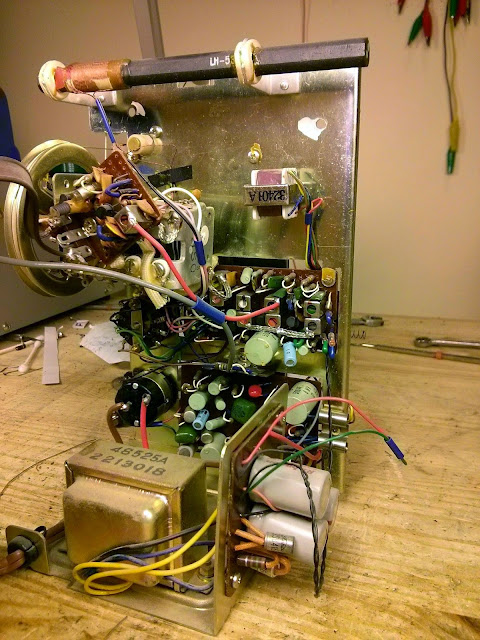
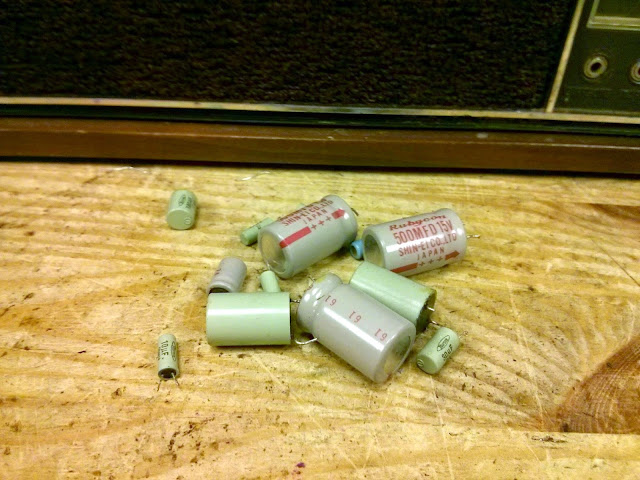
I pulled the chassis out to get started. Definitely time for a rebuild. This 500 uF 6V capacitor had cracked and started leaking out the top.
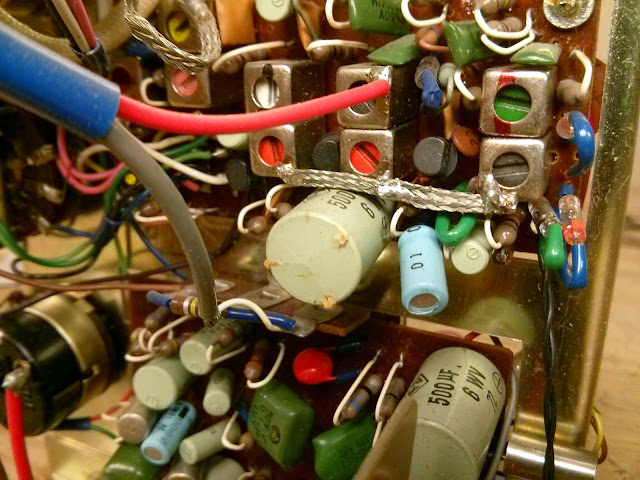
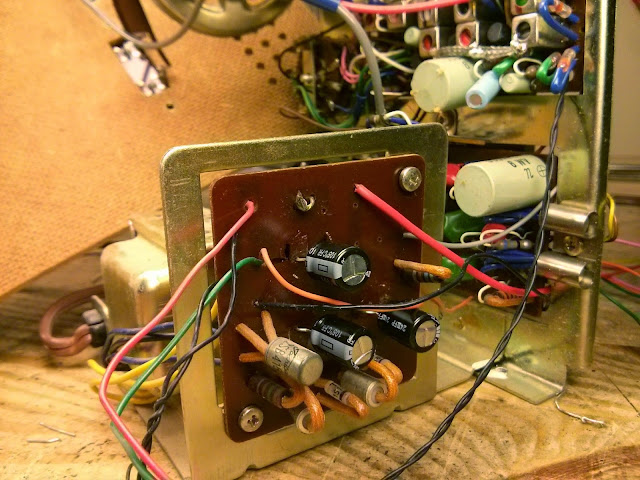
The power supply board, with one pass transistor and a set of rectifier diodes. Replaced the 500 uF 15V capacitors with new 470 uF 16V models.
To work on the rest of the boards, the dial face has to come off:
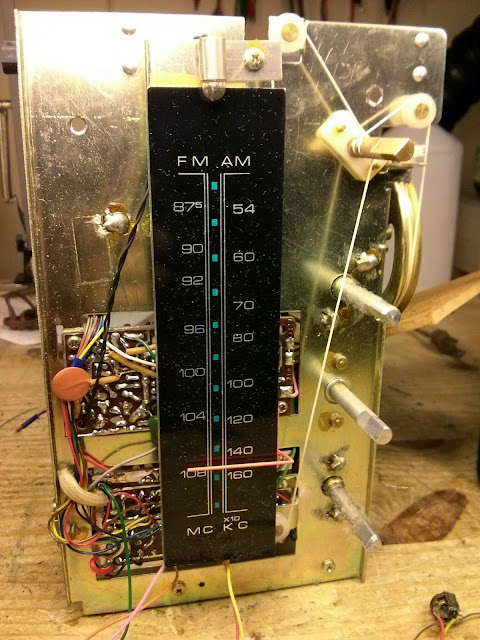
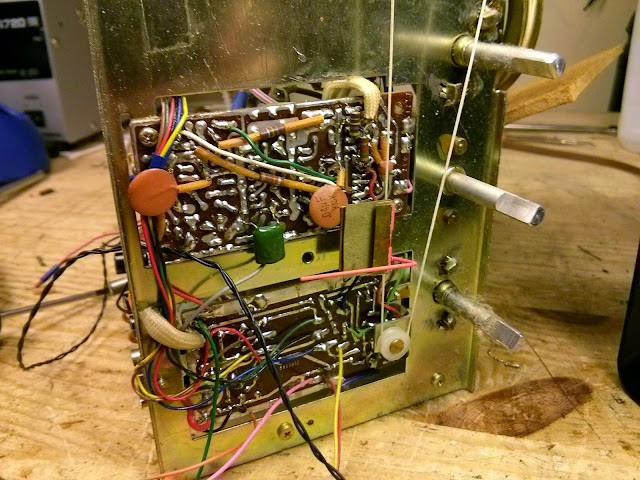
In progress replacing components. I’d power up every few capacitors just to check, since these very early PCBs can develop cracked traces very easily. By checking regularly, I’d know if a trace broke with the last component I installed. Fortunately, none did!
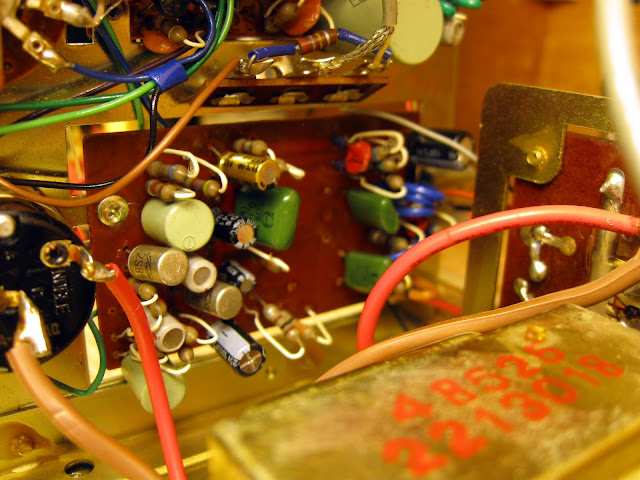
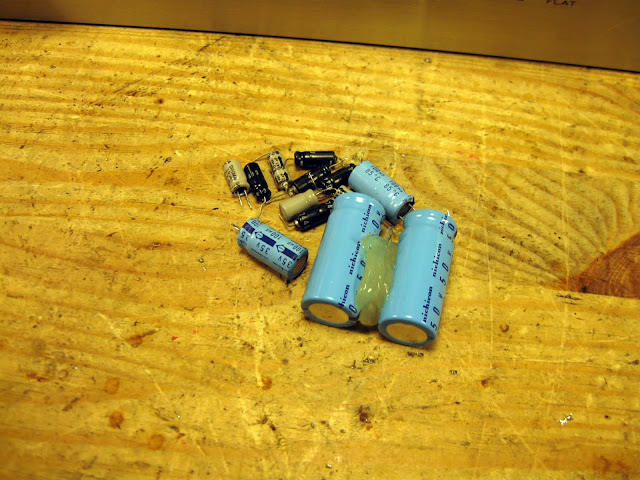
Ultimately, everything ended up getting replaced.
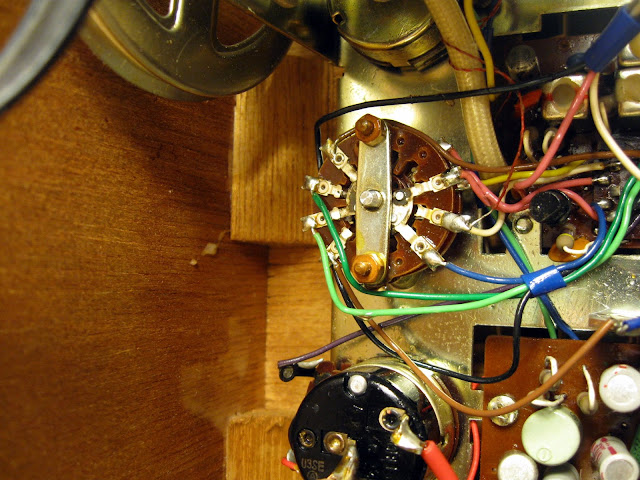
A shot of control cleaner into the band switch and into the volume control cleaned up the scratchiness and intermittent connection. With all new caps, the static and noise on turn-on was completely gone, too.
It’s back to like new condition. No more shocks, no noise and crackling, no randomly cutting out and needing to fiddle with the switch. Just a warm vintage sound. This radio is rated for 1.4W max into its internal 4 Ohm speaker, and it managed this at around 2.5% THD. That’s after adjustment, but the nature of the distortion, the frequency response, and the speaker setup meant that it actually was still a pleasant sounding and non-fatiguing audio source. Perfect for background music in an office, for instance. It looks pretty sharp, too, with the atomic design above the dial and a nice wood cabinet and reddish grill cloth.
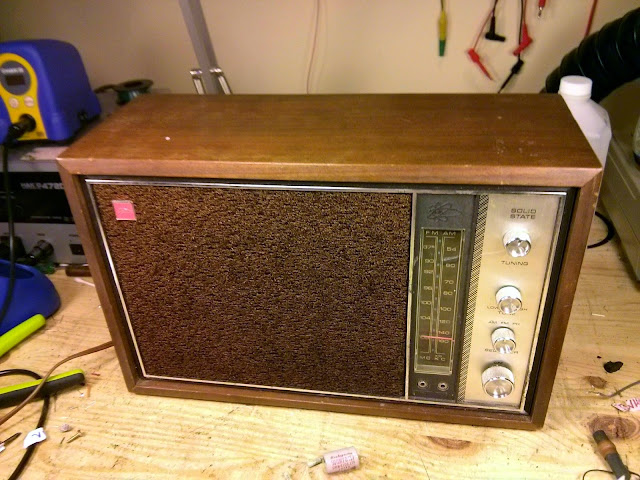
Here’s to many more years of happy listening!





Use Copper Shielding Tape to Protect Dial Strings from Hot Tools [Tips and Tricks]
Dial strings are, quite frankly, about the worst things in the world. They’re usually a complex and finicky mechanical system parked right in the middle of an otherwise straightforward electrical project, and if a string breaks good luck getting it back together again in all but the simplest of dial string arrangements. And they break easily. On older, tube gear the dial strings have often worn out and snapped with age and friction. On newer gear, the dial strings have often been snagged on the case at some point during a previous repair attempt, or even worse, they were accidentally nicked with the soldering iron and burnt or melted apart.
That’s a problem which has happened to me quite a few times, even with a steady hand and the best of intentions. After spending many hours re-stringing the dial on a 1970 Toshiba tabletop transistor radio after my soldering iron caused it to snap where the string passed very near the amplifier PCB, I was inspired to come up with a solution that’s a bit more reliable than “just be more careful”: copper shielding tape!
Copper shielding tape is an extremely important part of an electronics test bench. It’s very handy to shield a sensitive part of a circuit from electrical interference, but also, it can shield from thermal interference as well! In this case, because the copper foil is a thin piece of metal with a high melting point, the soldering iron brushing up against the foil won’t damage the string under it, and won’t heat it up nearly enough to cause damage to anything underneath for a short tap. This is the perfect solution to the problem of dial strings snapping when trying to solder too close to them. Copper shielding tape can be soldered, so it’s perfect to provide some protection against an errant soldering iron. A small 2″ section wrapped around itself with only a small section of the adhesive removed to form a cylinder was all it took.
Copper shielding tape is extremely useful to have around. It comes in a variety of styles, but I’d recommend one that’s about 2″ wide and has a conductive adhesive so it can act as a shield without soldering as long as it’s touching a metal chassis somewhere.
I stock a full roll of 2″ x 55 Yards ($56.95) as I use this while repairing Bose equalizers and stereo receivers, but it comes in other sizes. A five-foot section ($15.95)
 might be a better choice if you don’t see yourself using it often, or if you’ll only use it as a soldering iron shield. It’s available in smaller, narrower sizes also: 1″ x 5′ ($10.99), 0.75″ x 18′ ($8.28), and 0.25″ x 18′ ($5.05) but these smaller and narrower sizes are really more appropriate for actually shielding seams, etc. than trying to protect a dial string.
If you try this out yourself, let me know how it goes!
Share this: