A few people have asked me variations of “What tools do I need to fix my first radio?”, “What do I need to put together this soldering kit?”, and such. It’s not as simple as you might think. There’s a lot of equipment out there, and if you’re starting out it’s not always easy to tell what’s good from what’s garbage. Picking the wrong tool for the job will give you a frustrating repair experience at best, or could even damage your project.
You do only need a few things to get started: a soldering iron, a multimeter, a wire clipper, a wire stripper, and some basic safety gear. If you’re a casual hobbyist who will do a few projects a year, you can get started for under $100. If you’ll be working on electronics a little more often than that, you’ll want to spend a little more for more durable tools, but they’re still pretty affordable.
Below are some tools I’ve selected which will help you get through your first project and then some:
Soldering Iron:
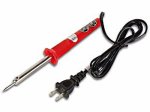
Probably the most important item on this list, you’ll use the soldering iron to make connections between wires and components. You need to make sure you get an iron that will be durable enough, and produce enough heat, to quickly melt the solder and heat up joints without taking too long and causing “heat soak” which can damage other near-by components you’re not actively working on. While it might seem counter-intuitive, too small of a soldering iron is actually a bigger problem than too big! I recommend a soldering iron around 50W for most hobbyist applications. Stay away from any of the “cold heat” soldering tools which aren’t very effective for this kind of work, and stay away from any gas-powered soldering iron as those are more suited for plumbing or off-the-grid work.
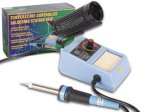
For electronics repair, you can get started with a no-frills soldering iron for under $10 (left). I’d recommend spending a little more, though, to gain temperature control and easier replacement parts if you need a new tip or heating element. For about $20, you can upgrade to a Velleman 50W adjustable soldering station (center) which has a handy cleaning pad and soldering iron holder built in. If you’ve got deeper pockets, Hakko makes excellent professional-grade soldering products like the FX888D digital soldering station
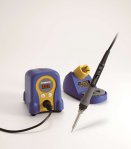
 (right) which has a digital temperature control, and you can get dozens of different size and shape tips and replacement parts very easily. I use the Hakko FX888D in my shop, and it’s fantastic.
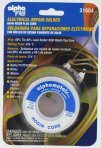
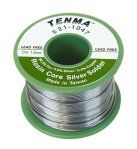
You’re also going to want the right kind of solder. Rosin Core Solder is the right kind for electronics and includes flux inside for a good connection. There’s new RoHS-compliant (“lead free”) solder out there, but personally I find it’s more difficult to work with. Wash your hands after soldering and you’ll be fine using traditional lead solder, like this basic 60/4o Electrical Repair Solder (left). Standard tin/lead solder comes in a several varieties; 60/40 and 63/37 are pretty common and there’s not a major difference. If you’re going to be doing work on sensitive audio or RF circuits, some kinds of solder can offer a little better performance. Silver-bearing solder forms joints with a lower resistance; tube radios won’t really benefit but some high-end vintage hi-fi gear can benefit. Tenma makes a very nice 96.5% tin, 3% silver, 0.5% copper solder (right). Be sure never to use acid-core solder as you’ll damage your device, acid-core solder is only suitable for plumbing.
Multimeter:
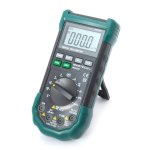
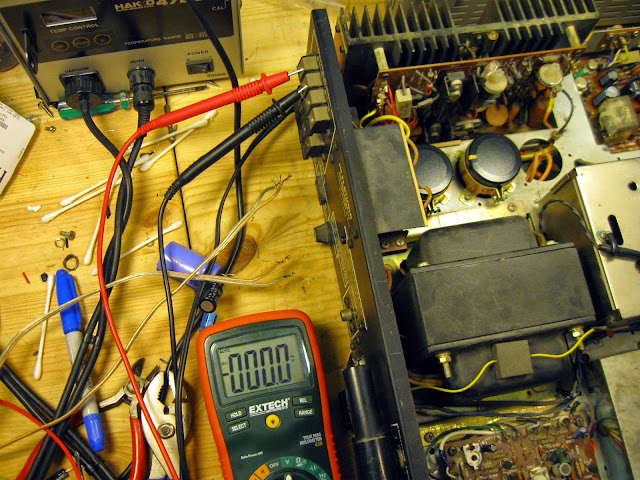
You’ll use the multimeter to make a few circuit tests, including checking for the correct voltage at a few points in the circuit, and for measuring the value of resistors. A homeowner’s multimeter isn’t a good choice for these repairs, but even an inexpensive digital multimeter will be more accurate than most of the tools in a repair shop back in the day. At about $25, the pictured (left) MASTECH AC/DC Auto/Manual Range Digital Multimeter will measure AC and DC volts up to a higher range than you’ll ever likely need. It also can measure current, resistance, test diodes and continuity with a buzzer (useful for checking coils!), roughly measure the value of capacitors, and do some basic frequency measurements. Sure, it’s no Fluke
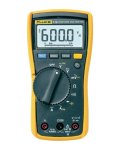
 (right) but it’ll get the job done just fine. A meter very similar to the MASTECH is my everyday go-to meter that I use during all but the most precise measurements, and it’s never let me down.
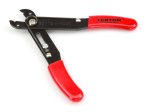
Wire Clippers:
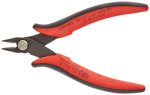
You’ll need to cut old component leads and cut wires down to size when doing repairs. A set of flush-cut wire clippers makes short work of this, and they’ll last longer and won’t get the cutting edges nicked up as if you tried to use a general cutting tool like a pair of household scissors. They’re very inexpensive – under $5 – and come in handy around the house as well as in the workshop.
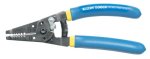
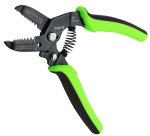
Wire Stripper:
Right along with the wire clippers, you’ll need to prepare old and new wiring for soldering by removing the insulation. An adjustable pair of wire strippers is critical so you remove the insulation without damaging the wires underneath. At the low end, around $5 will get you a set of TEKTON continuously variable wire strippers (left) with an adjustment nut, and they have a cutting edge as well. This is okay if you have only one wire size, but it’s a bit annoying to adjust every time. I prefer wire strippers with their own sized guide holes. Moving up to around $20, you can pick up a nice Klein Tools wire stripper (center), or a Greenlee Communications wire stripper (right). I own the Greenlee and it’s got a comfortable grip and is very sharp and easy to use.
Recommended Extras:
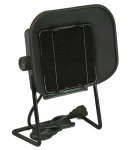
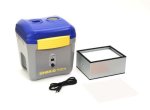
Soldering does produce some toxic fumes, and you’ll want to make sure you’re in a well ventilated area. Soldering indoors isn’t a big deal occasionally, but you don’t want to breathe in the smoke too often. If you can’t open a window, you can use a variety of smoke absorbing filters for your workbench. They start at about $35 for a smaller desktop model, suitable for light work, up through many hundreds of dollars for a professional fume extraction system like the Hakko FA-430 which Rain City Audio uses.
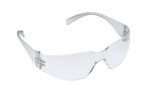
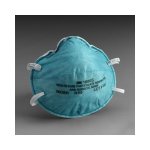
Sometimes molten solder can splash, or a piece of wire can go flying, and you’ll want to protect yourself. Safety glasses are highly recommended, and can be had for as low as $3 if you’re buying some of the other items. That’s a low price to pay for peace of mind! Some people like to use a surgical filtration mask while soldering as well, to help with residual fumes. They’re available for about $1 each in boxes of 20. I don’t use a mask, personally, but if you don’t want to spring for a fancy ventilation system and don’t have good airflow in your location, you might consider it.
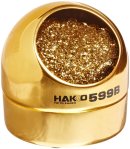
A tip cleaner and debris catcher is also very handy for keeping your iron clean but isn’t strictly necessary. At a minimum, keep a damp kitchen sponge on hand with a scrubby side and use that to clean your tip after every few joints.
And then:
That’s all you’ll need to get started. If you get further into the hobby, or run into functional issues once you’ve finished replacing the needed components, you’ll also want a few pieces of test equipment. Look for my recommendations on hobby test gear for radio and electronics repair in a future article!


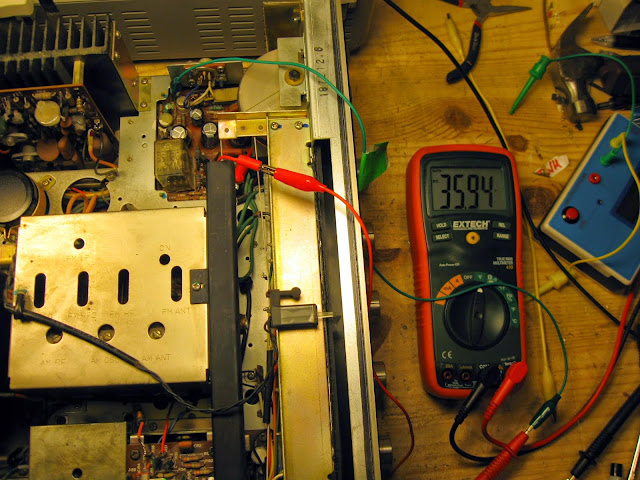


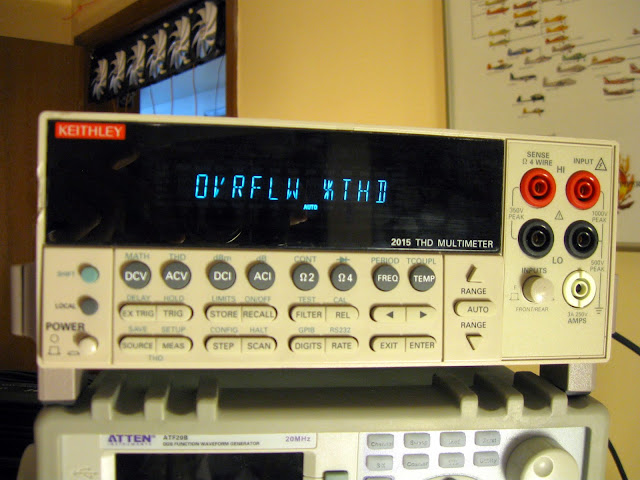
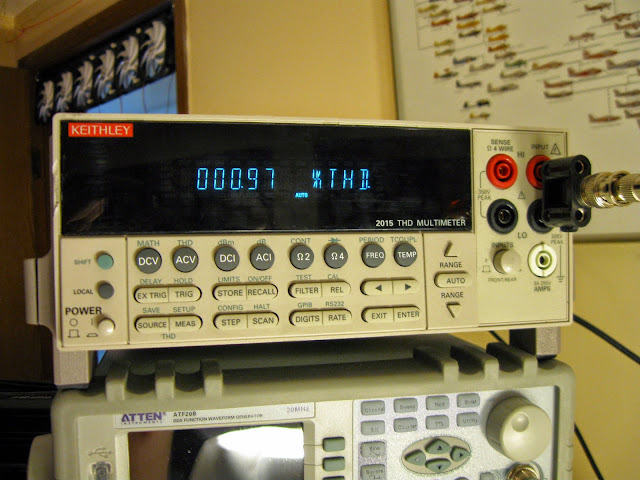

What do you get from a $25 multimeter?
Fred Clift wrote over on his blog about why it’s worthwhile to pick a more expensive multimeter. He’s comparing a $200 Fluke to a $6 Harbor Freight multimeter, which really is a no-brainer. I’m not sure the Harbor Freight model would be safe to use on any of the higher range measurements with those whispy, poorly insulated test leads.
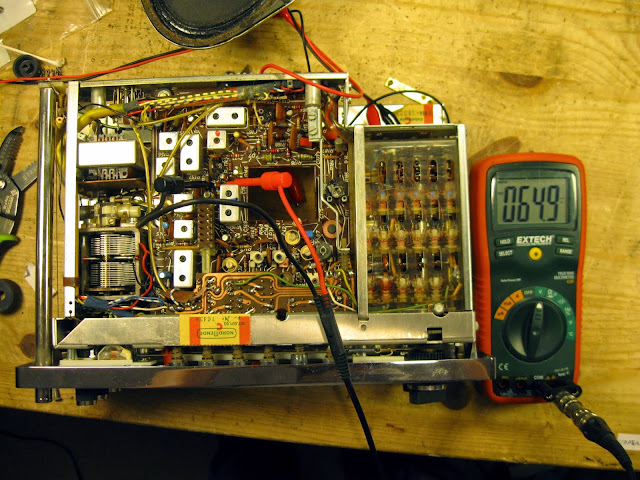
I use a few mid-grade meters for basic bench measurements and was interested to see how they compare with the Fluke 87V and the Cen-Tech from Harbor Freight.
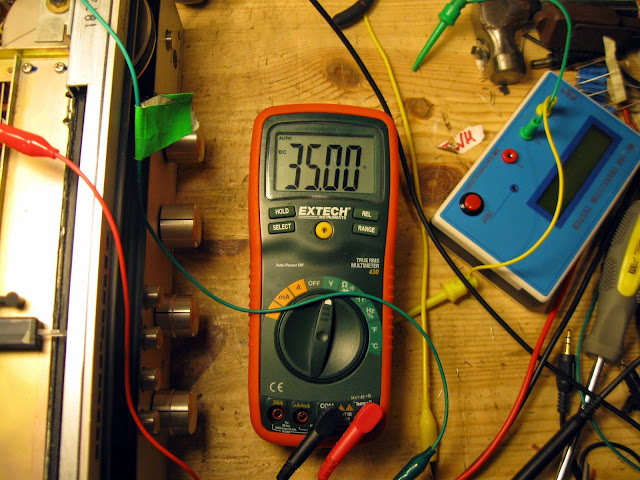
I use the Mastech MS8268 meter which I recommended in my “Getting Started with Basic Tools” post. It’s durable, rugged, and costs only $25. Really, it’s about what I expected to find. As you go down in quality you lose accuracy, but the Mastech meter has all the same functions as the Fluke – just not quite as tight.
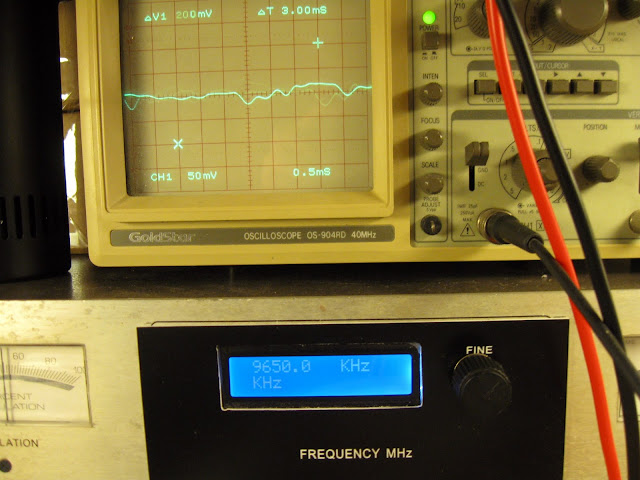
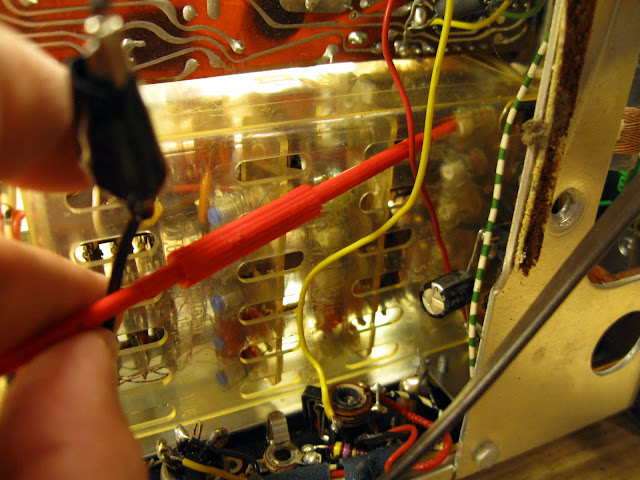
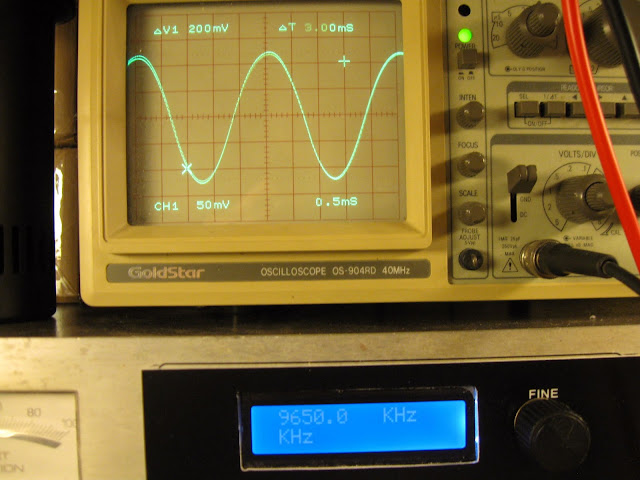
The Fluke does have some cool features that Fred picks out. It will tell you min/max/average over an interval, faster continuity beeps to quickly check a strip of connections, and a higher voltage continuity test that can actually light up an LED. Otherwise, though, the Mastech has the same basic capabilities including 200 kHz frequency measurements. I’ve been able to use that in a pinch as a signal tracer – set the meter’s range to measure frequency, and probe the stages of an audio amplifier. Meter shows the tone? Move on to the next stage.
A lot of applications don’t need 0.05% accuracy on a DC voltage reading, so I stand by my recommendation of the Mastech as a “good enough” meter for most hobby work and vintage equipment repairs. There’s definitely situations where it’s worth it to spend a bit more, though.
Share this: