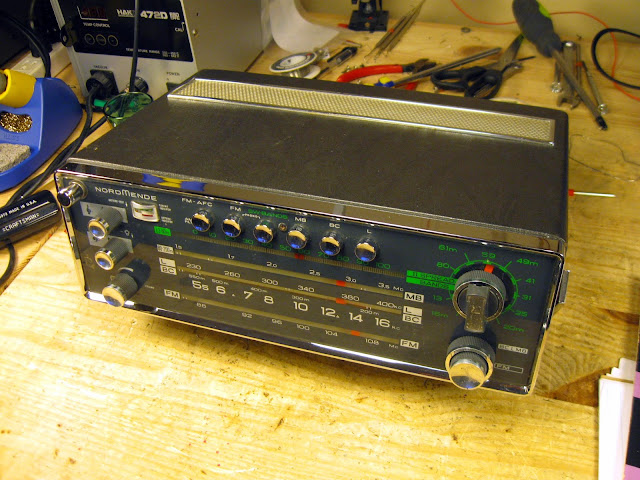
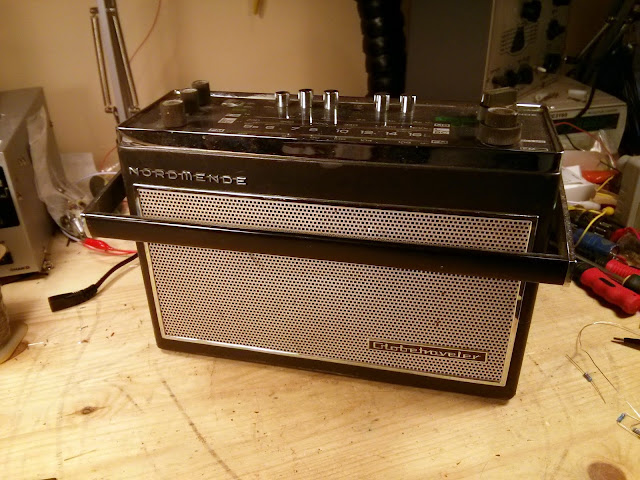
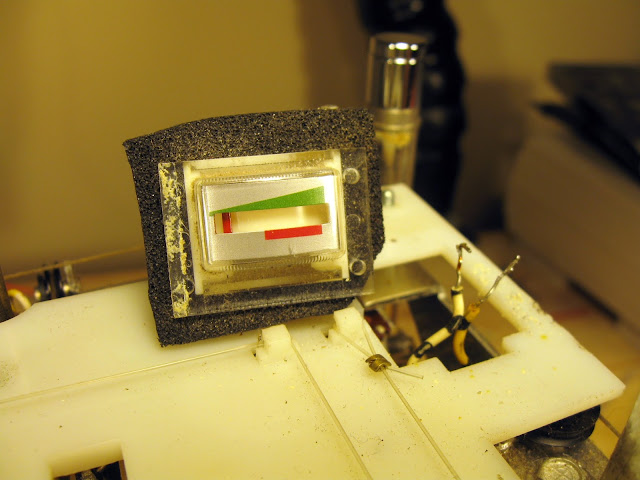
This rare and valuable example of late 1960s German engineering came through my shop recently, the NordeMende Globetraveler 7/601. Marketed as the Globetrotter in Europe, RCA already marketed a radio called the Globetrotter in the United States and so the NordeMende was re-branded Globetraveler when sold over here. While it came in working on its original components, there were a few issues. First, the alignment was a bit off. As a battery radio, the dial lamps are only on when the lamp button is pressed; that switch was stuck with the lamps always on. The bass and treble controls were a bit gummed up, too, and it sounded muddy.
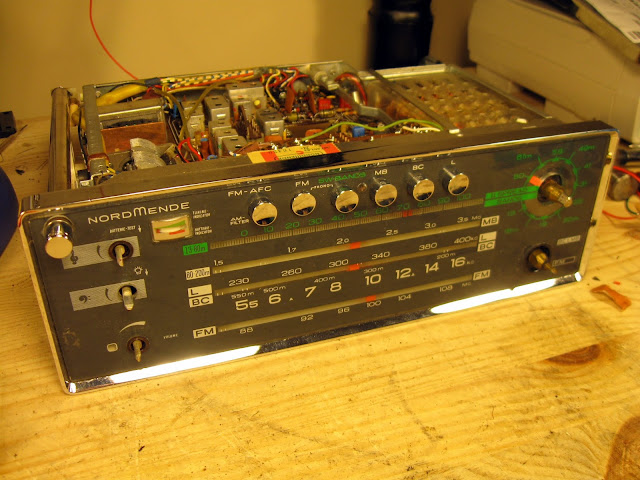
Since this is a rare, intricate and valuable piece it deserved a full overhaul, complete with a precision alignment of every band – and there’s a lot of them: FM, AM, Longwave, and 11 distinct spread shortwave bands. Talk about a lot of tweaking!
Those problems would’ve been extremely tough to fix, but fortunately the owner had a donor parts set in even worse shape he was able to send along as well. Between the two poorly working radios, there’s enough to make one good one!
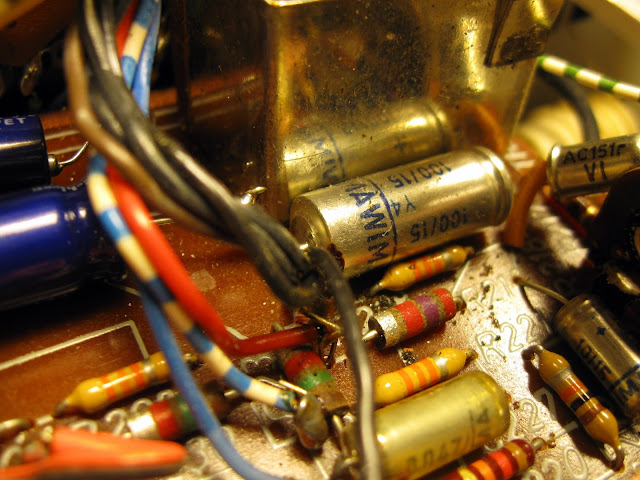
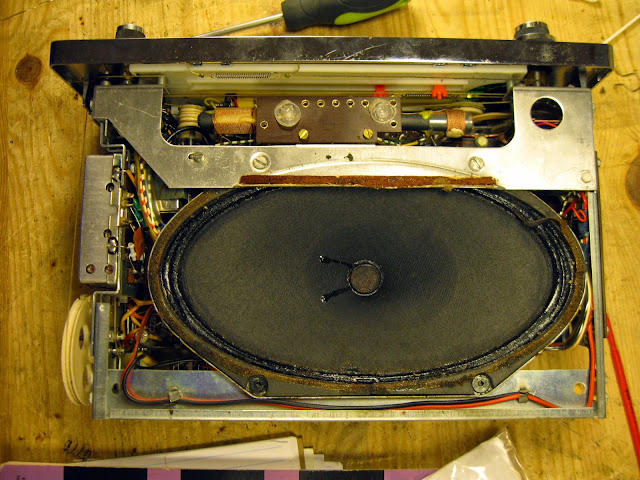
These early PCBs are extremely fragile and even with lab-grade rework tools can still be damaged. Fortunately, this set used all axial electrolytic capacitors, so I was able to clip the leads and use the old leads as mounting parts. A few locations I was able to de-solder and re-solder directly to the PCB, but most were axially mounted.
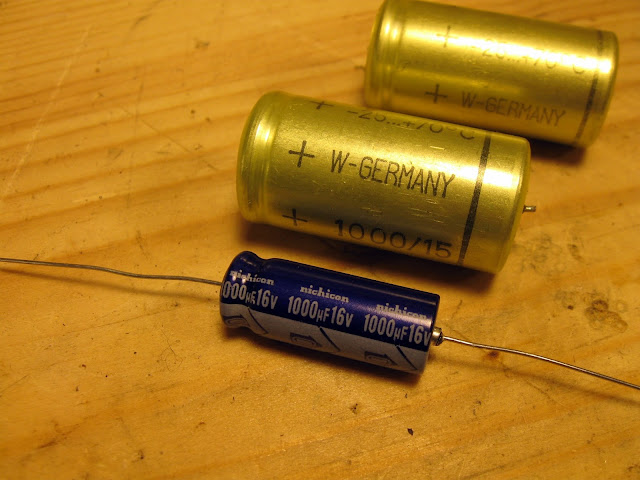
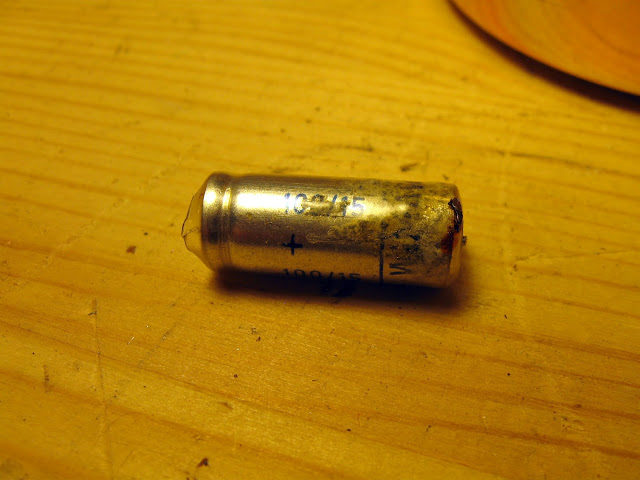
You can see in the lower left corner of the MAWIM capacitor that it’s started to leak a bit.
Capacitors replaced, the audio quality cleaned up very nicely. Then, on to tackling the other issues. After unsuccessfully trying to clean the switch with several different methods, the only way to swap them out was to disassemble the entire front dial.


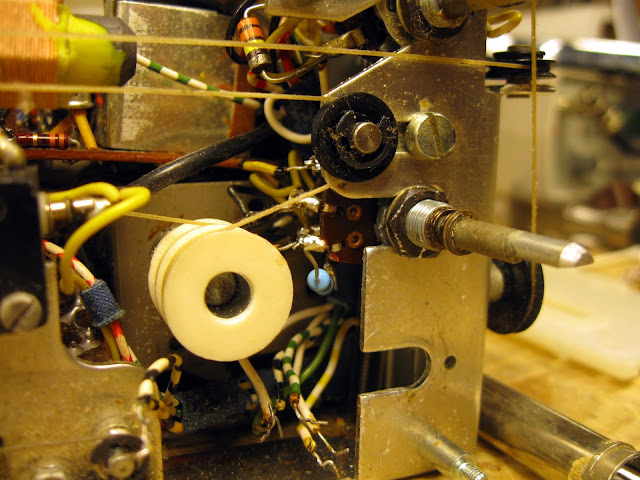
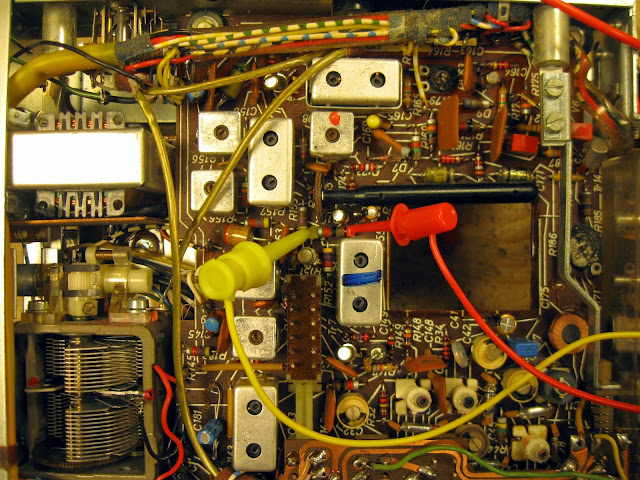
The controls in question are the lower two on the right:
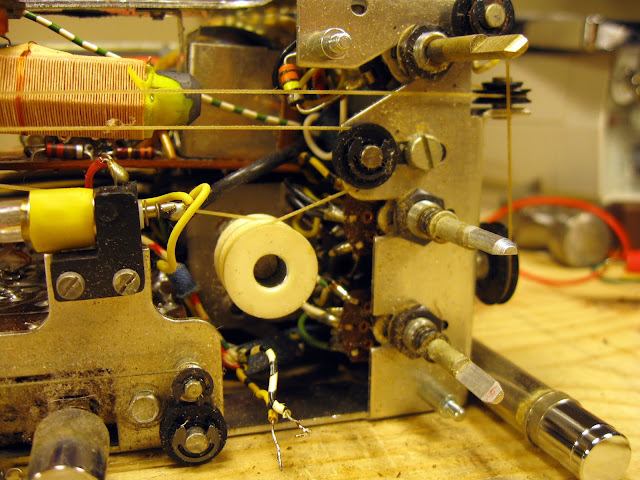
I carefully removed first the lower, then the upper, keeping track of the lead arrangements.
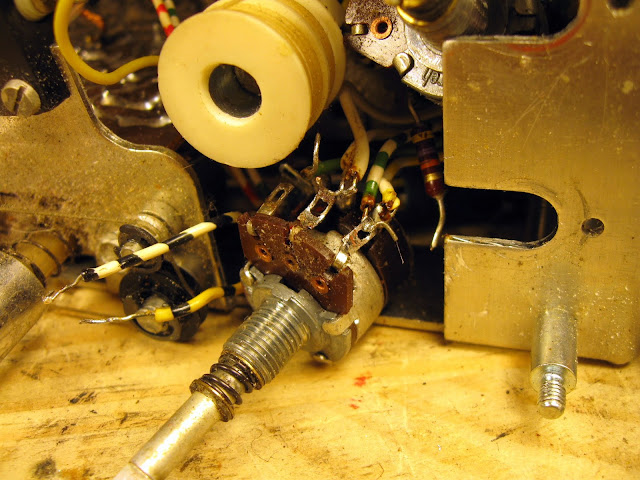
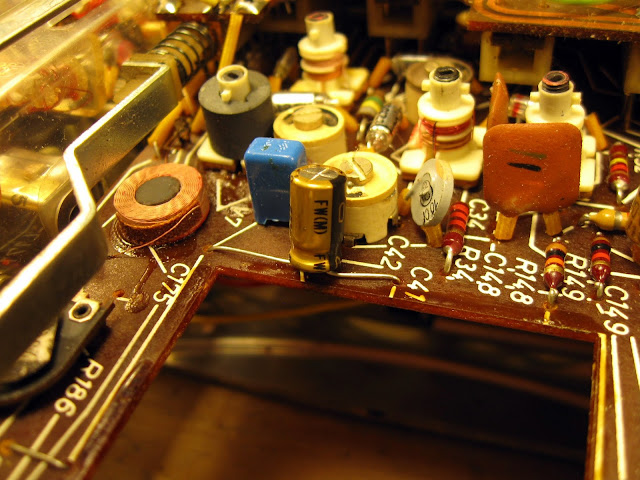
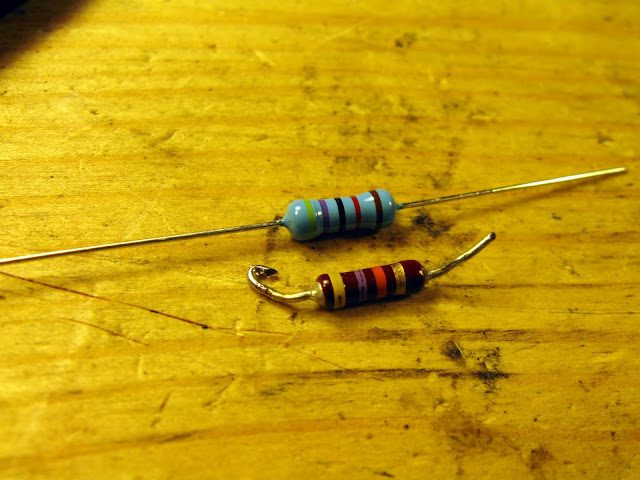
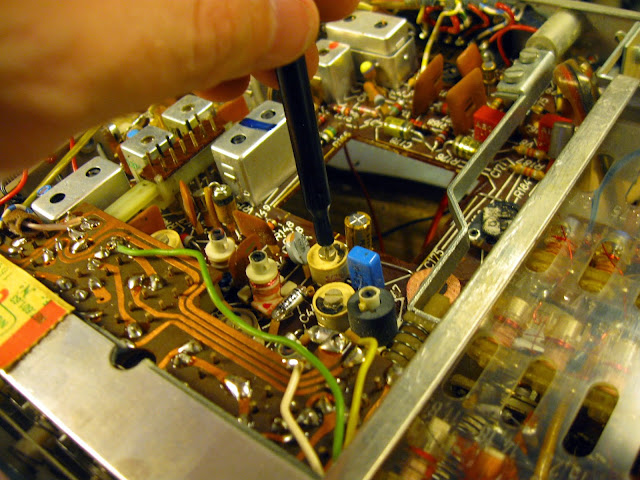
I installed a new resistor to replace the one whose leads I’d cut.
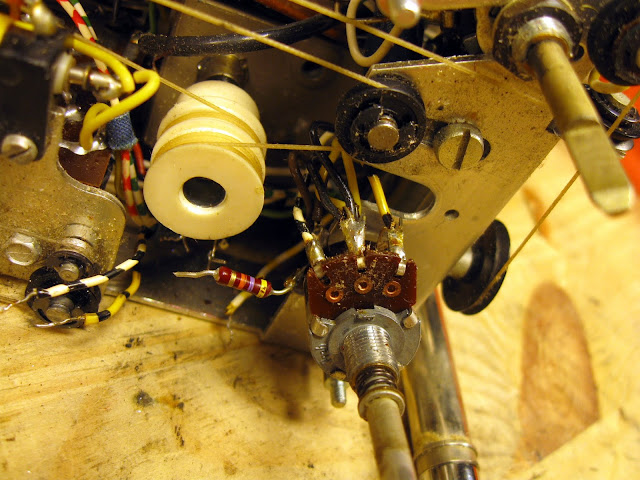
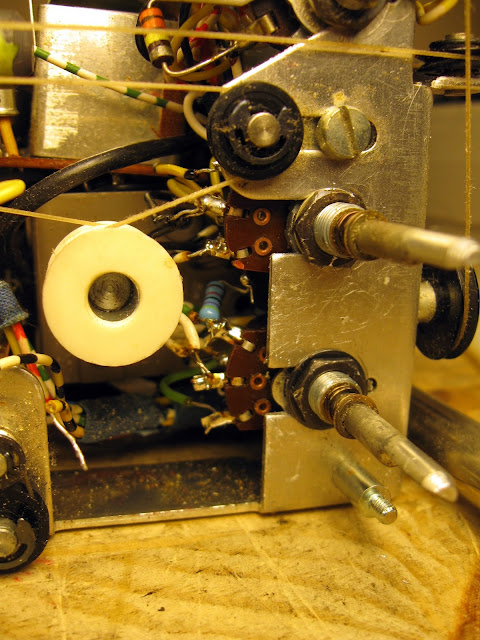
Then it was time to reinstall the new controls in reverse:
Now all the functions work perfectly! I used some rubbing alcohol to clean a few switch contacts which were acting up but otherwise it was in good shape and ready to be aligned.

First up is a bias adjustment:
Followed by 8 AM adjustments:
Longwave adjustments:
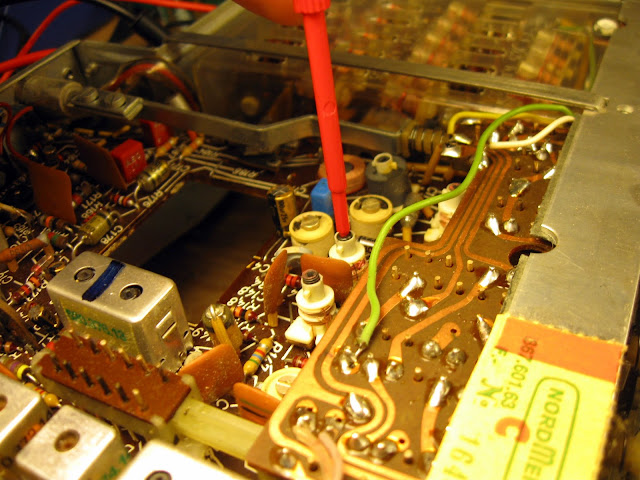
Shortwave bias adjustment:

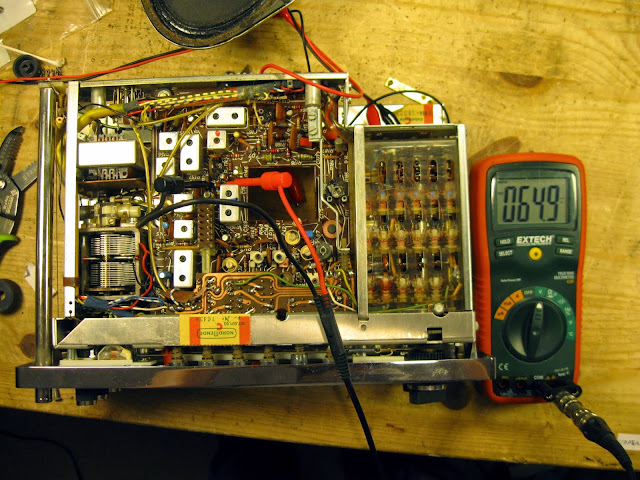
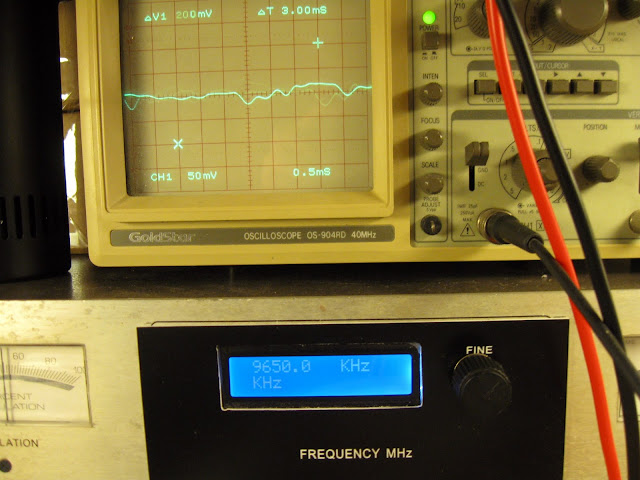
Followed by no fewer than 34 separate adjustments for each shortwave band. I used a new precision signal generator for the alignment:
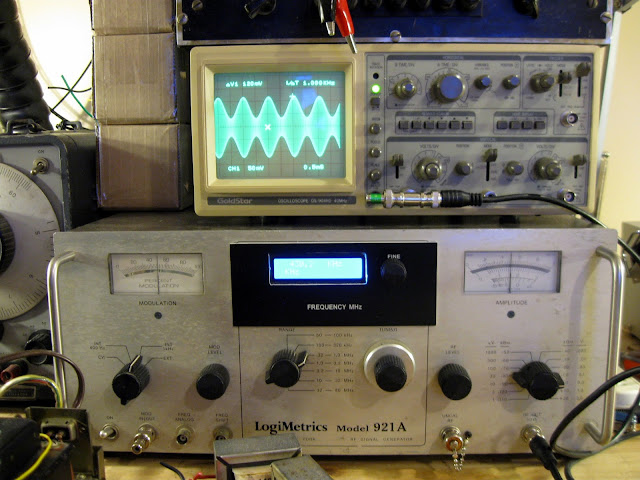
Using the scope and generator together, it was easy to check the alignment out. I’m not going to post every band here, but due to the sharp tuning, it was very important to get these just right.
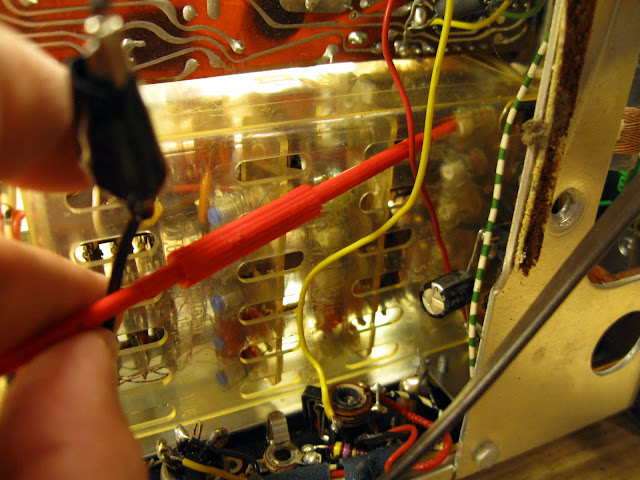
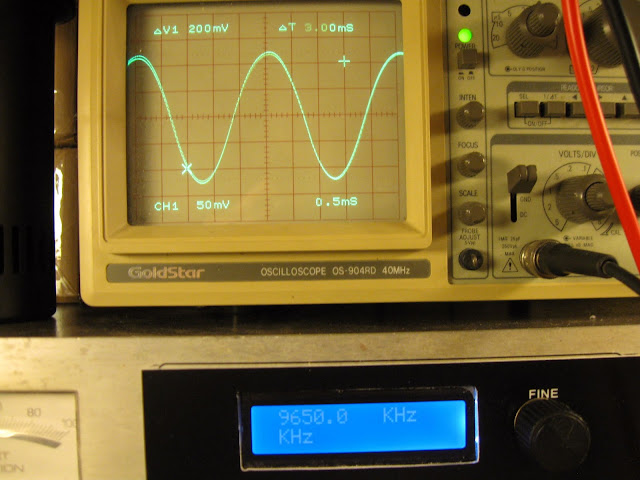
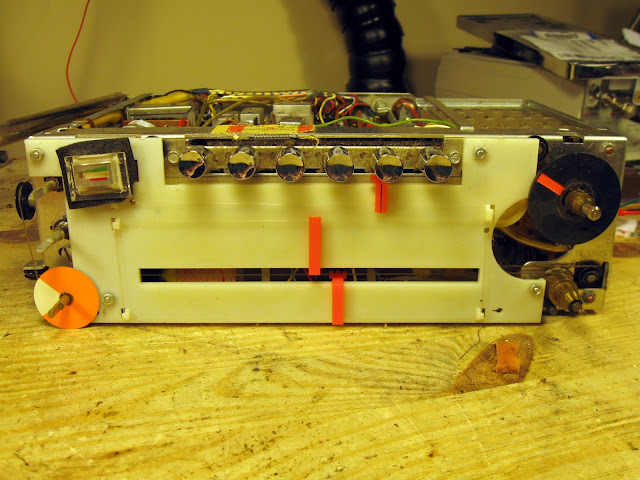
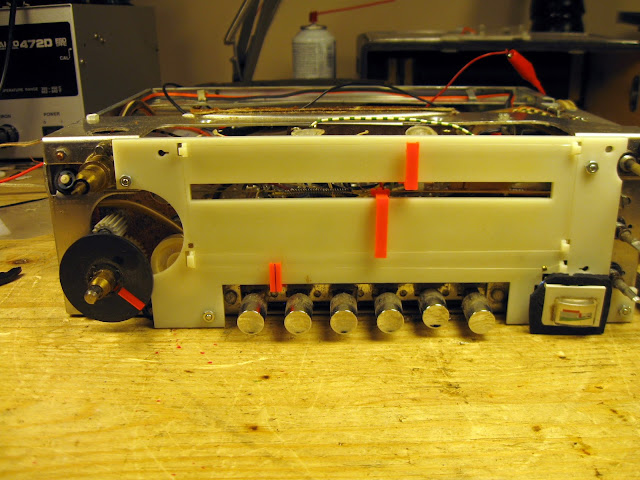
Repeat 3 dozen times, and the alignment is complete! Very, very fortunately none of the trimmers or coils were damaged so it was long but uneventful. Then, with it working perfectly, back in the case:


With all new parts and a precision alignment on all bands, this should play well for a long time. It’s pretty sensitive, too, although shortwave stations are pretty tough to pick up these days so I’m unsure how the real-world performance will be. It sounds great, and pulls in a ton of AM and FM stations though!