I’ve posted a few times about my HP 3585A spectrum analyzers over the past several months, and after chipping away at the problem I’ve finally solved the screenshots issue! It boiled down to a bad GPIB cable for my National Instruments PCMCIA-GPIB card. After replacing it with a new National Instruments USB-GPIB-B adapter, everything worked instantly the first time.
If you want to get yours set up to pull screenshots, follow along:
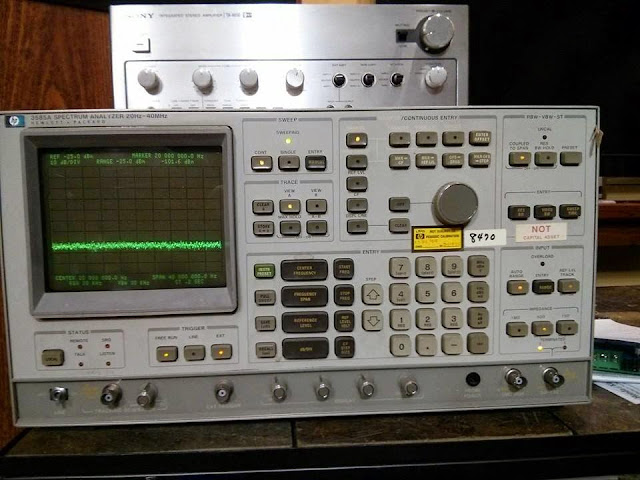
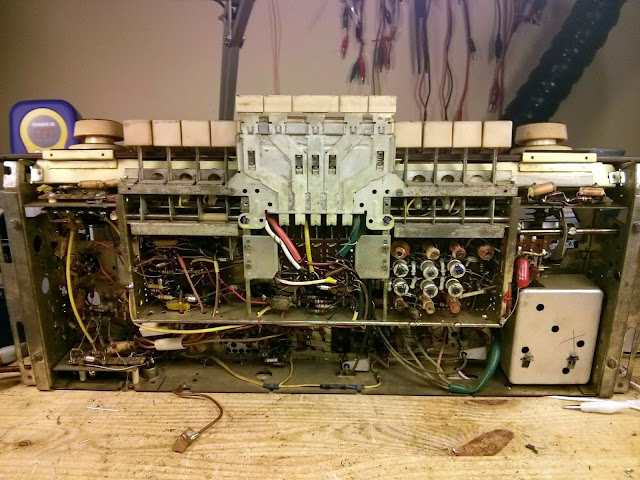
The HP 3585A is a bit older of a unit, in the first generation of HP digital spectrum anayzers (following up to the HP 141T analog spectrum analysis system) produced beginning in 1978 up through the early ’80s. Even today, despite it’s limited frequency range (20 Hz – 40.1 MHz), it’s a good performer with versatile connection options, a very flat tracking generator built in, and HPIB/GPIB connections for performing system measurements.
The service and operation manuals really show the age this was created – there was a companion control computer which could be used to extract screenshots and perform automated phase noise, harmonic distortion, and other measurements. Just load in the right cassette tape and key in a few instructions in Rocky Mountain BASIC and off you go!
To extract screenshots, you’ll need these things:
- HP 3585A Spectrum Analyzer (or another one which supports pulled plots)
- HPIB/GPIB Adapter and Cable
- Screenshot Software
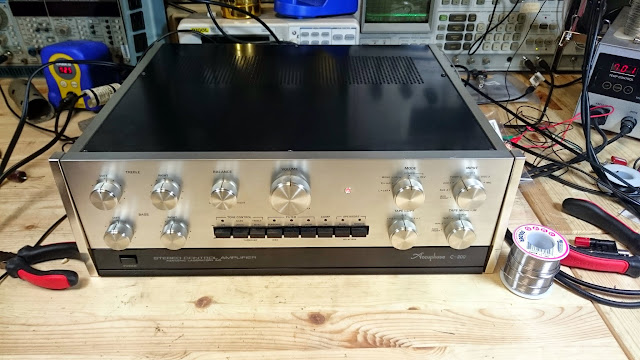
1. HP 3585A Spectrum Analyzer
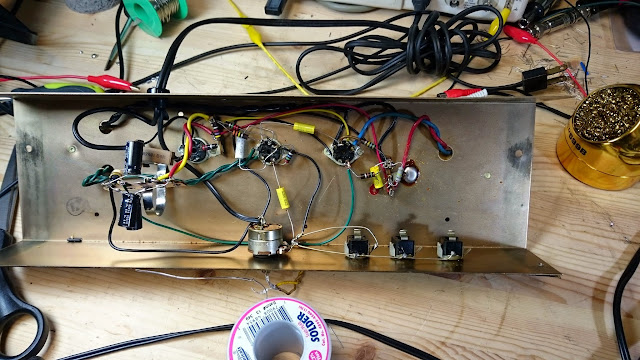
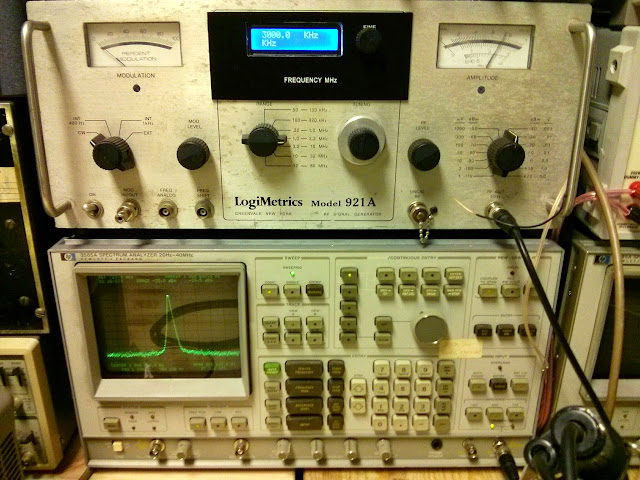
I got mine in trade for some radio repair labor, but they’re out there. Neither one of mine had been calibrated for over 15 years but when I attached an antenna and looked at the AM broadcast band, the counter was spot on for the stations, and it matches spot on with the calibrated output of my LogiMetrics signal generator. I might have gotten lucky since one of mine has the high-stability reference clock option but the other has the standard clock and is still spot-on. I get the impression these are quite reliable.
I’ve seen them on the local Craigslist for $500-1000, and they go for a bit more than that on eBay. They also turn up at Hamfests and so forth as they’re old enough and cheap enough they can make it onto most dedicated hobbyist’s benches, not just shops like mine.
2. HPIB/GPIB Adapter and Cable
Somewhat annoyingly, HP and most other test equipment manufacturers used the GPIB connector, an IEEE-488 interconnect. It’s basically a serial port, but supports daisy-chaining and multiple instruments on the same bus segment. It makes sense given how many of these were connected in systems and controlled centrally for automated measurements, but it’s not a connector that most people will have lying around, and since the only place it turns up is on lab equipment even used adapters command a pretty high price.

HPIB/GPIB adapters are widely available. If you have too much money lying around, you can pick up a brand new one from National Instruments for around $600…or, you can pick up a used one from eBay. They come in all shapes and sizes: old-school ISA cards, PCMCIA adapters, and newer USB ones. Unfortunately this is one area I’d recommend you set your search to “US Only” as I got burned on an adapter I purchased from China, but your mileage may vary of course. You’ll be looking at $200-300 for a good used adapter in most cases.
GPIB Adapters on eBay
3. Screenshot Software
You have a few choices of screenshot software for your HP 3585A spectrum analyzer, and most support several other types of analyzers as well.
First, there’s Keysight Screen Capture 2.0, a free download from Keysight (formerly Agilent, formerly HP). It’s a little more complex of a setup, but supports quite a few other HP products, and can also save and restore settings from the PC to the Analyzer which is useful if you’ve dialed in a custom measurement set-up for something specific It’s also a free download, although you might have to register a free account and give them your e-mail address to get access.
There’s also KE5FX’s 7470A software, part of the KE5FX GPIB Toolkit. It’s a full-featured set of open-source software to pull plots from a variety of instruments, the HP 3585A included. There are a few other applications in the package for use with a few different types of analyzers for making automated phase noise measurements, etc. but it’s main use is going to be the plotter emulator for pulling the screenshots.
Of the two, the KE5XP application wins. Both produce nice plots and work as described once set up. Unfortunately, though, I wasn’t able to get the Keysight application to actually save a PNG of the data it pulled. On two machines it just wouldn’t generate an actual file, but no errors were generated. So for that reason alone, I’m using exclusively KE5XP’s app.
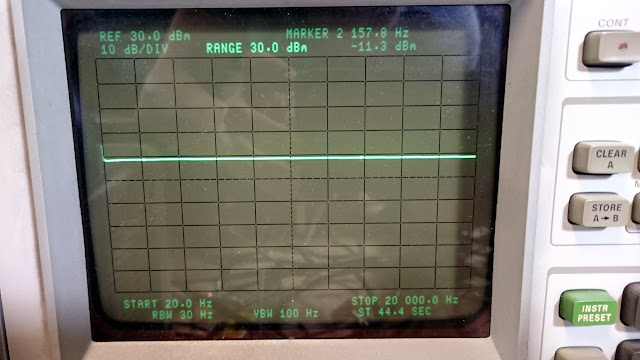
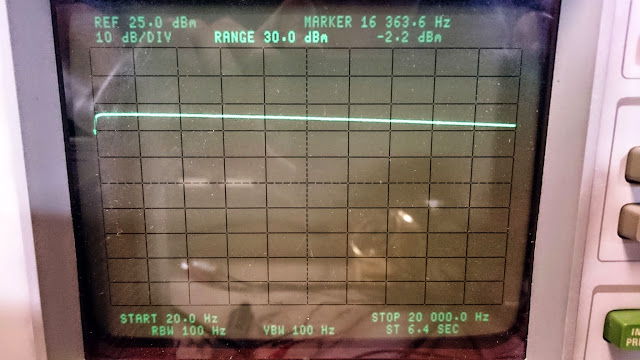
With the connections plugged in and the software installed, it was a major upgrade. Plots went from looking like this:
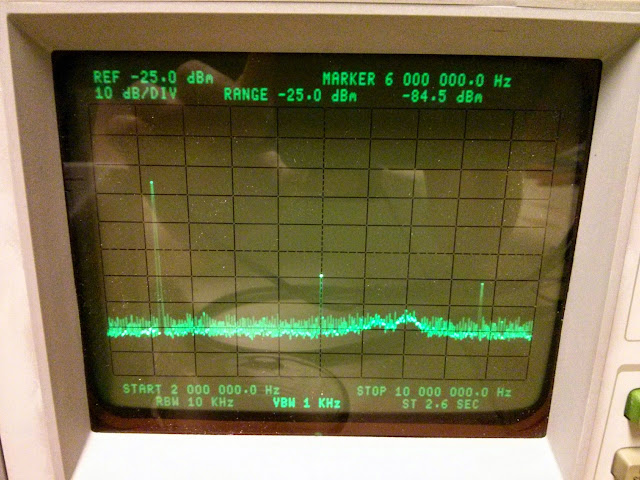
to this:
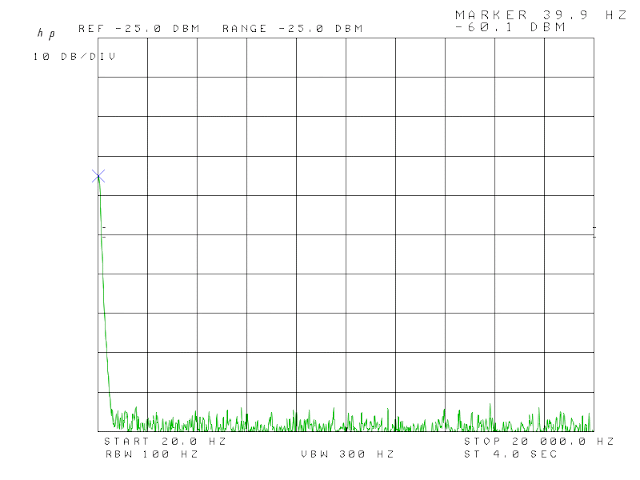
Much better!
Links: