
I recently got to work on another beautifully reconditioned Westinghouse WR-8 Columaire radio all the way from Bellingham. It was originally in for service with the SPARK Museum, but the repair technician reportedly suffered some health complications and was unable to complete the job so it came down to Seattle for me to finish. I’d previously worked on one of these back in 2013, but this one was in a bit better shape – although it took a long road to get there!
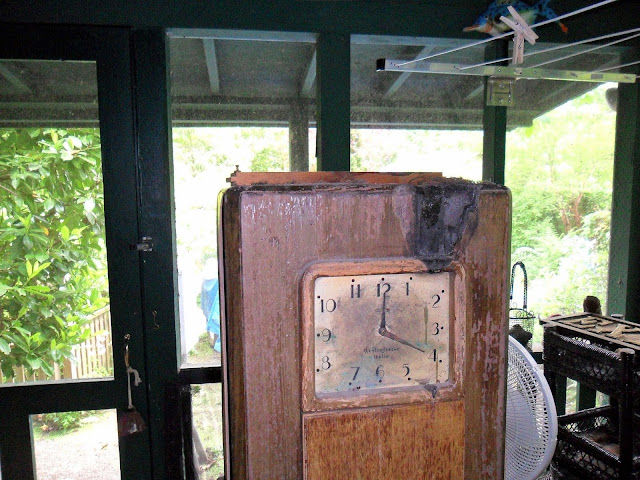
At some point in the past, the radio was badly damaged by an errant candle placed on top which must have fallen over and badly burned the top half of the radio. Afterwards, it was placed in a basement for many years and forgotten about, collecting moisture damage and dust along the way until being brought back out.
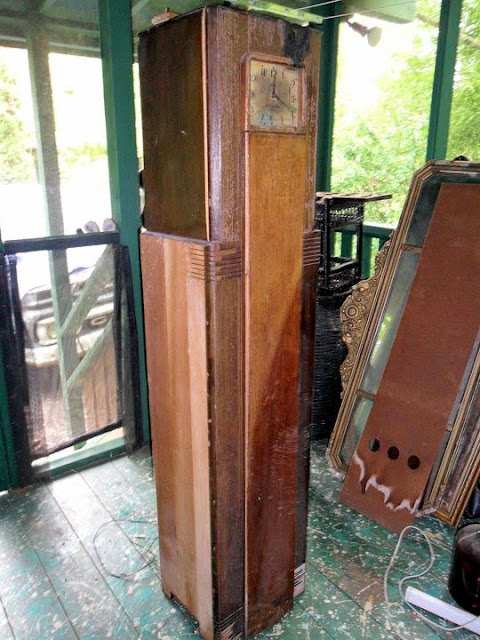
The owners spent a lot of time on the cabinet:

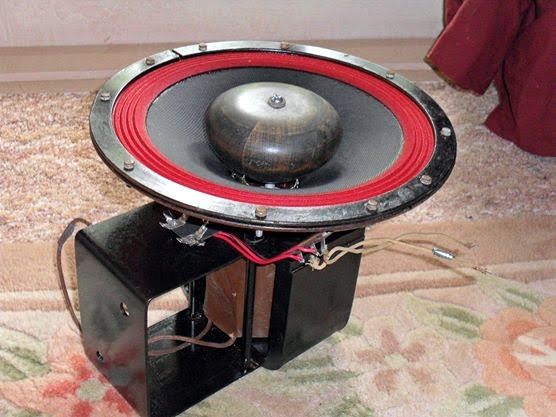
and reconing the speaker:
Then it was into the shop for the detailed electrical repairs!
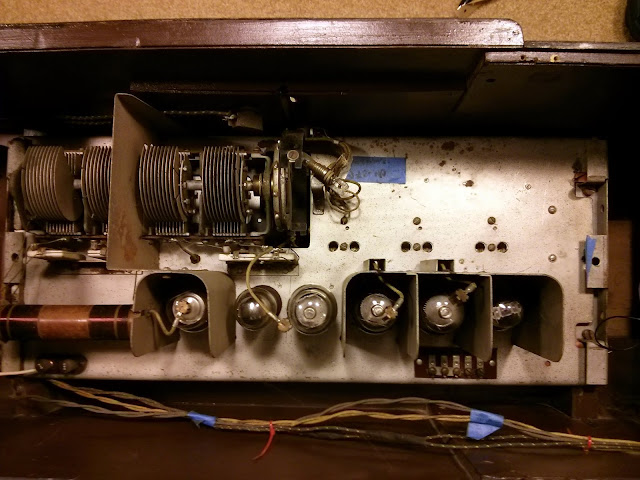
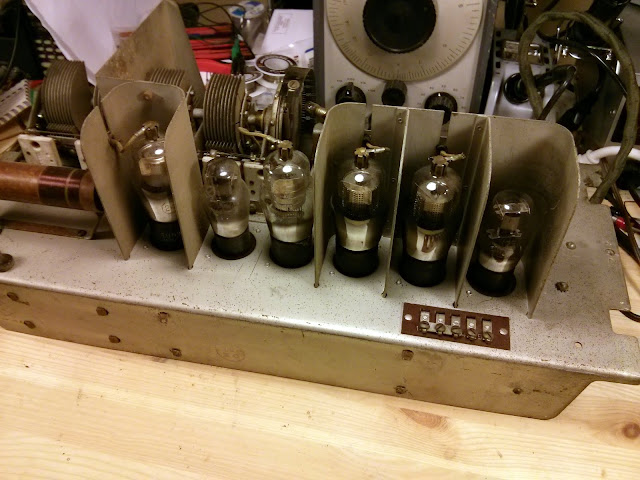
All of the tubes in this radio tested brand new, and all the transformers and coils checked out, so it should be a pretty straightforward repair. Overwhelmingly, the resistors tested in spec also, only a few were slated for replacement. It’s been worked on before at one point, too:
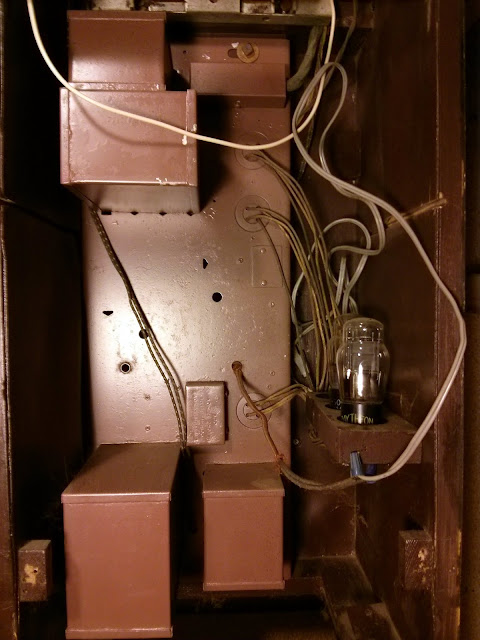
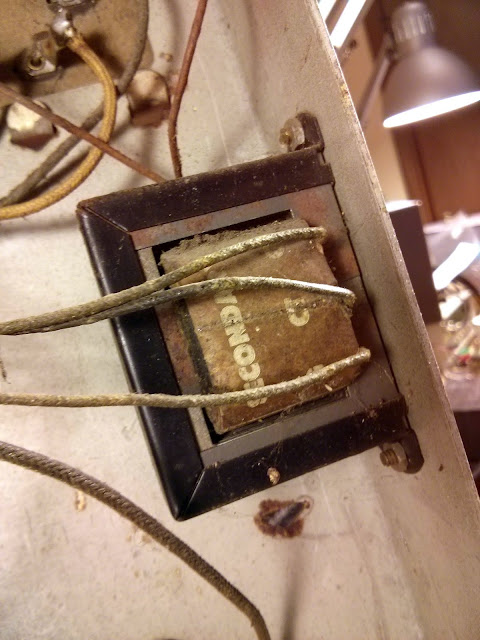
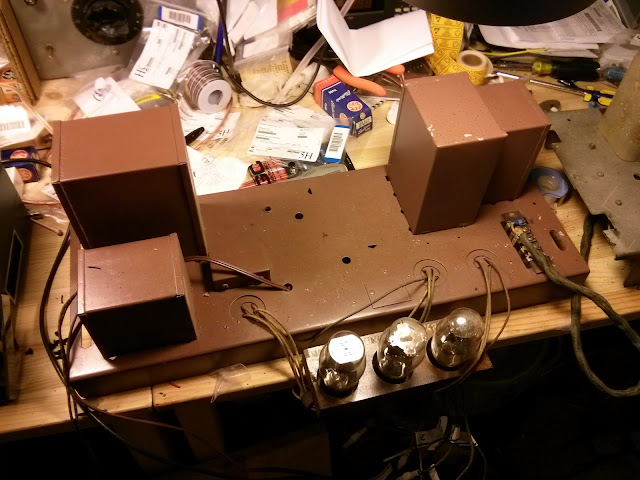
An interstage transformer, normally potted in a top can, was replaced with an open-frame transformer from the late ’30s or ’40s, mounted under the chassis.
This model could be used with a phonograph or a remote control, although neither option was fitted on this model.
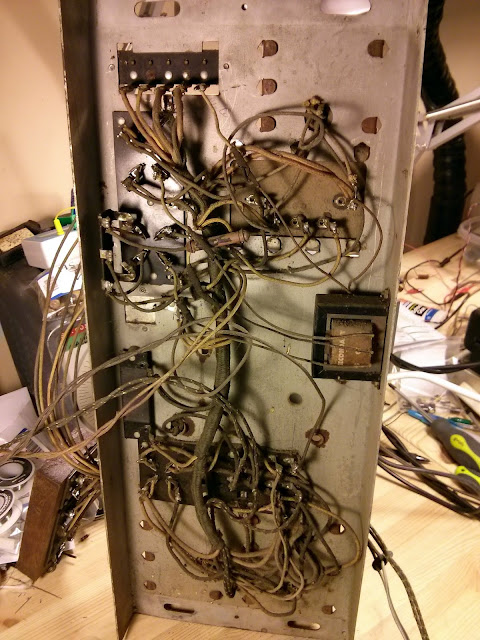
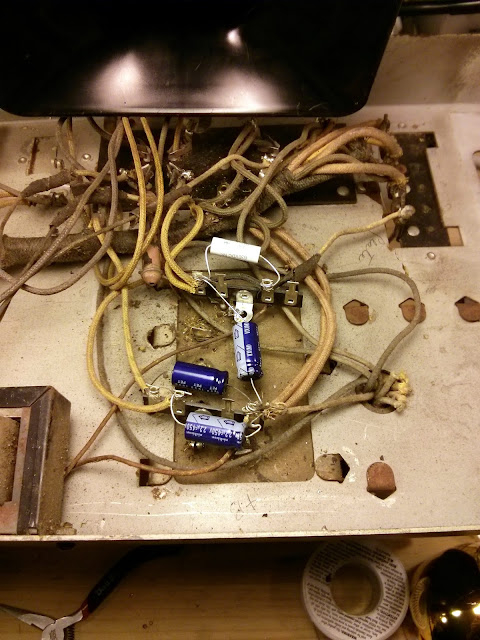
I began by mounting new terminal strips under the chassis, soldering them to the lugs on the old capacitor pack.

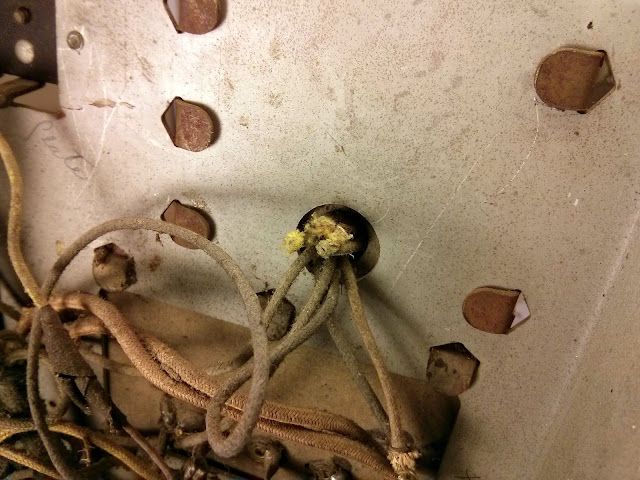
I took a slightly different approach for the other capacitor pack, using the existing phenolic board as the terminal strip after cutting off the pack capacitor.
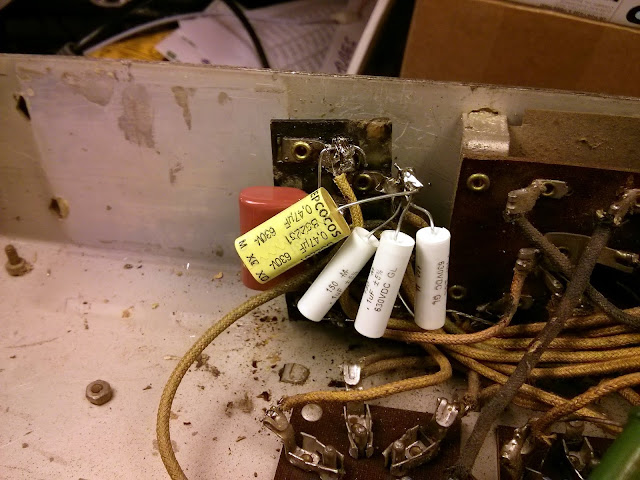
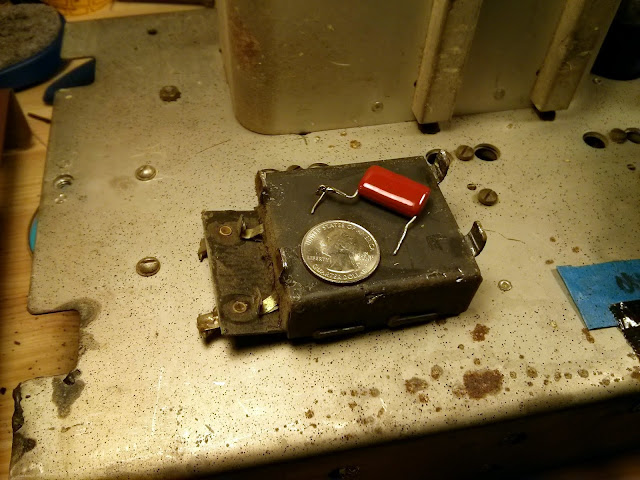
For a size comparison, here’s a third capacitor pack containing only a single capacitor – and on top, its replacement, and a quarter for scale.
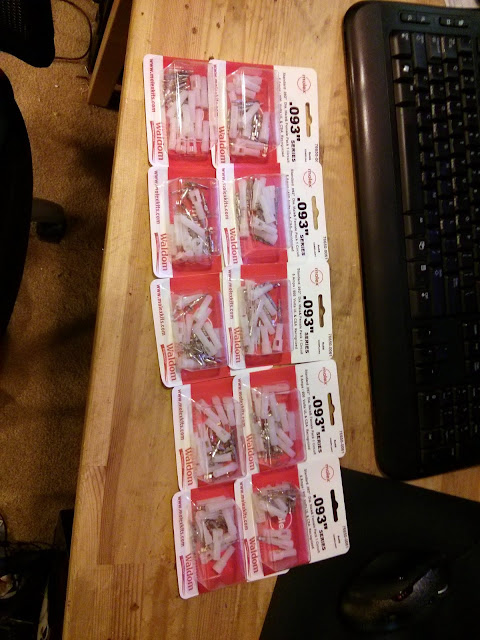
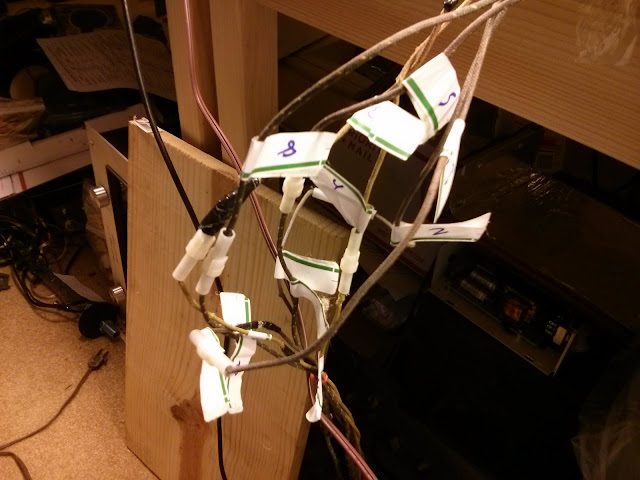
The owner requested something to make it easier to reset the clock when the time came: Molex connectors! I use 600V connectors with individual connections.
Not the prettiest, but it’ll work. The wire insulation was nicked in a few places, so I reinforced those areas with electrical tape.
Time to fire it up and test—loud and clear! I peaked up the alignment carefully and let it burn in for a while. The lead routing ultimately needed to be tweaked a little bit as there was some interference, but it was easily corrected.
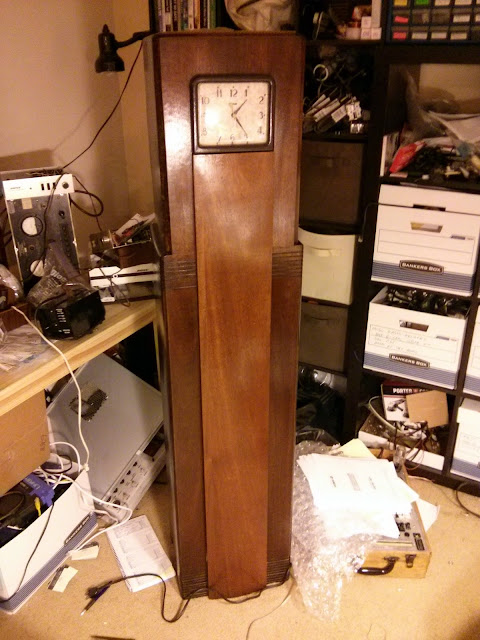
After refitting both chassis and the speaker back into the cabinet, this Westinghouse was ready to go home and make warm, rich, beautiful music for many years to come.
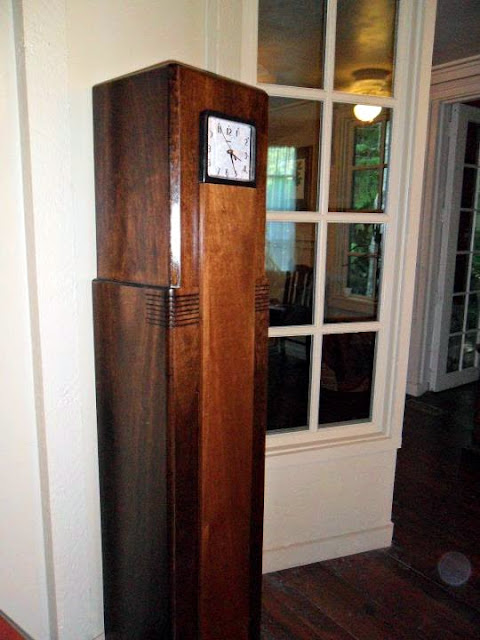
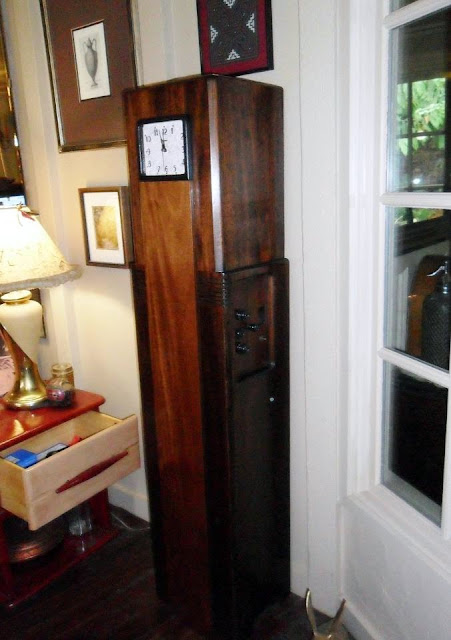
What a beautiful piece! You’d never know how far it had to come to get to this shape. Bringing it back to life so nicely was a joint effort – without the owner’s dedication to the cosmetics of the cabinet, it would never have made it to the electrical stage.

I see this is an old post but I am restoring one and someone previously removed the wiring to the clock. Do you have anything in the case wiring? It looks like there is a timer built into the clock, it must have done something.
Thanks.
I got one too…
We have one like yours!