
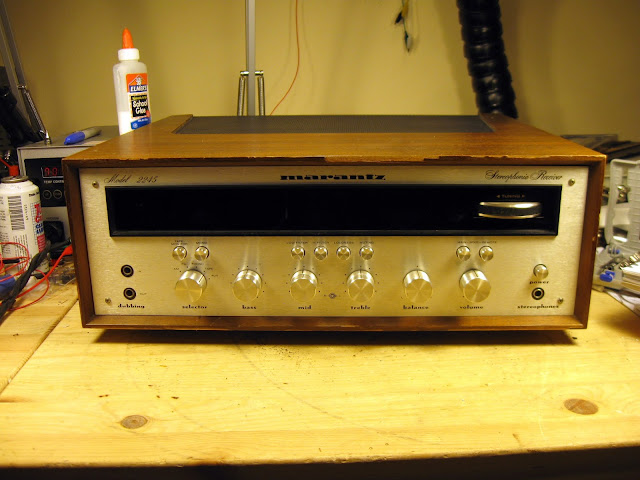
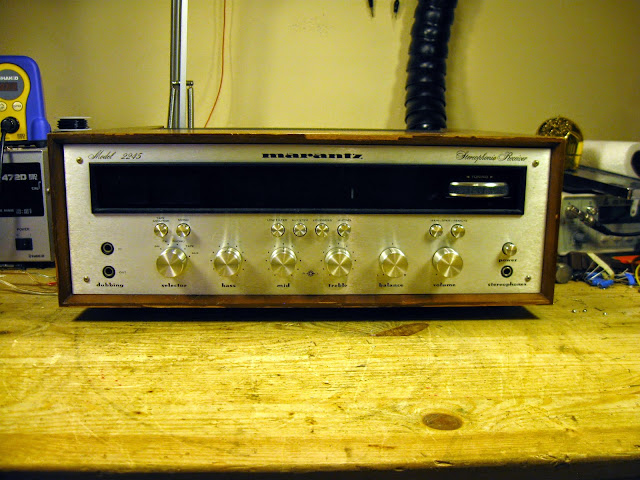
An iconic piece of kit from the golden age of hi fi just came through my shop: the Marantz 2245 Stereophonic Receiver. This fantastic receiver is in pretty good cosmetic shape, but its owner reported that it started acting up – it’d take a little while for the signal to come through, the controls were scratchy, and it was heavily balanced to one side. Time for some service! This receiver was made between 1971 and 1976, so it’s about 40 years old on its original set of components.
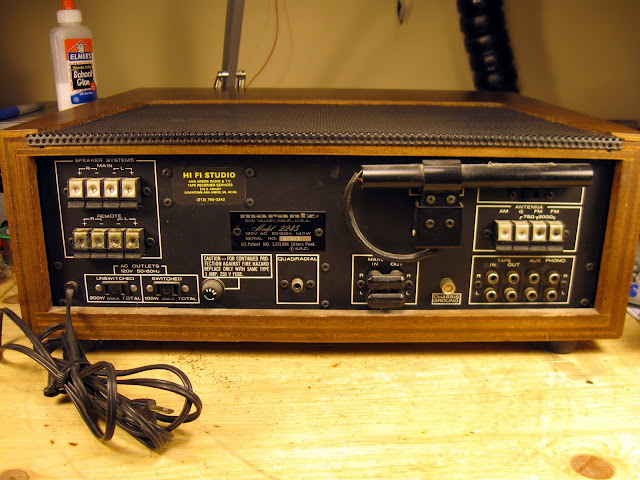
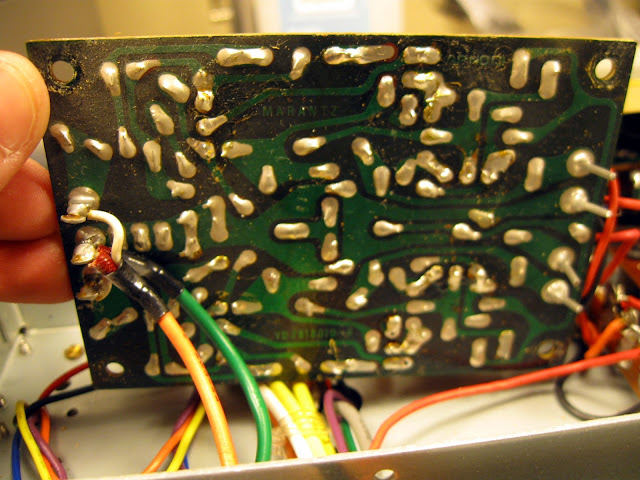
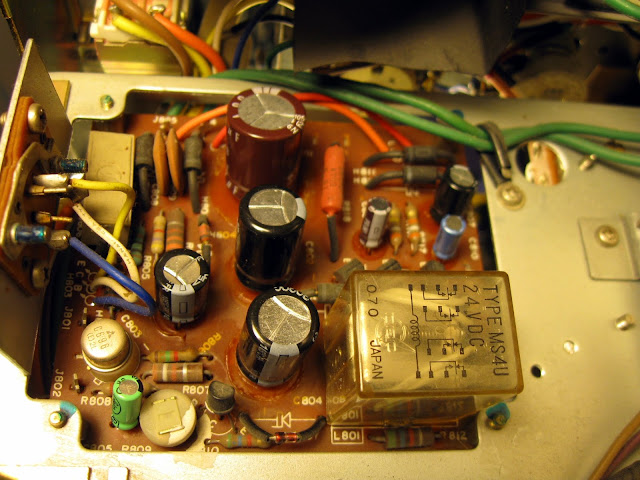
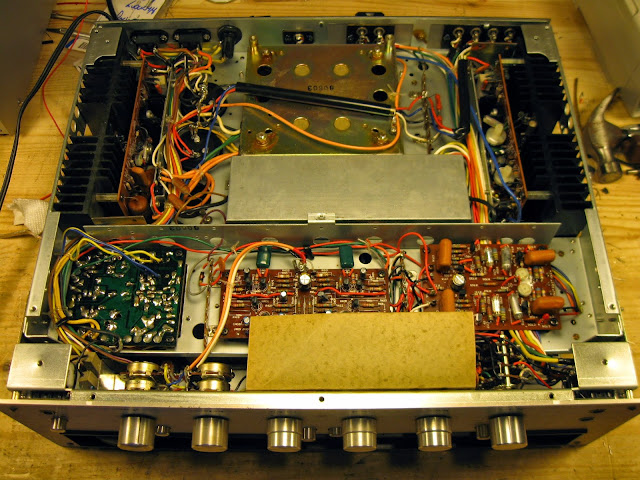
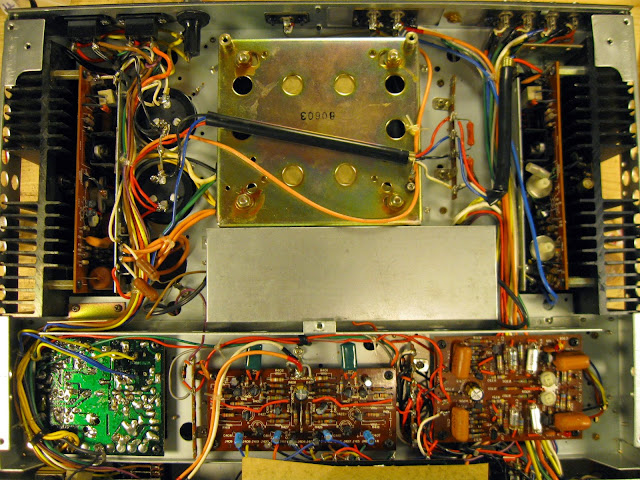
There’s a shop sticker on the back, but I couldn’t see anything obviously that was re-worked, so that might be the shop it was bought from when new. Underneath the cover, it’s pretty spacious. Most of the boards can be unscrewed and swiveled out of the way to work on them without even removing them from the chassis.
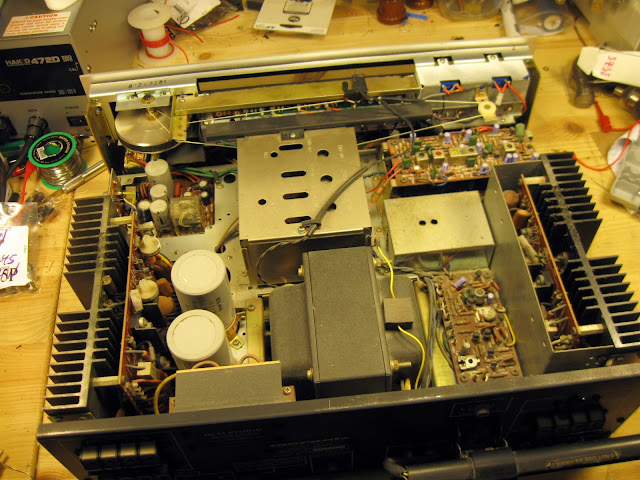
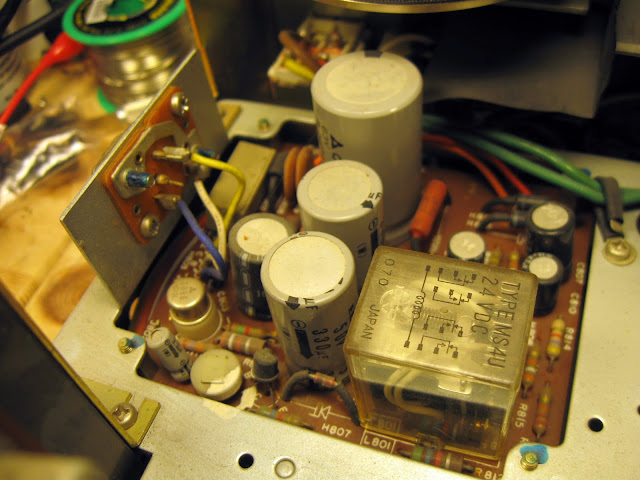
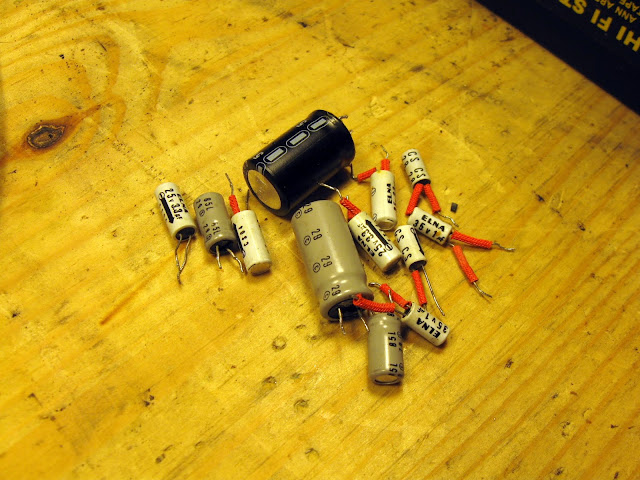
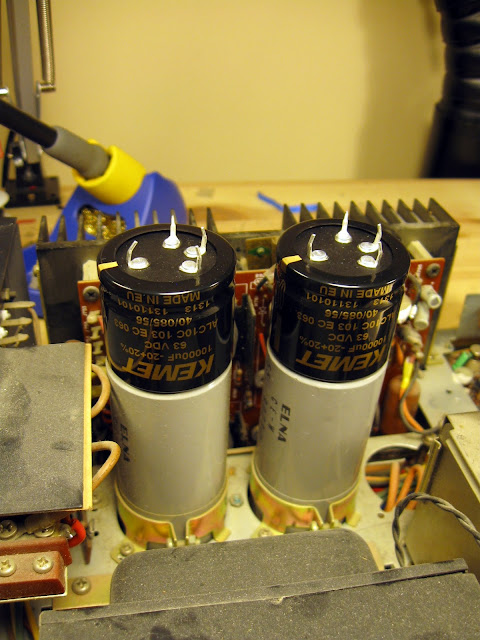
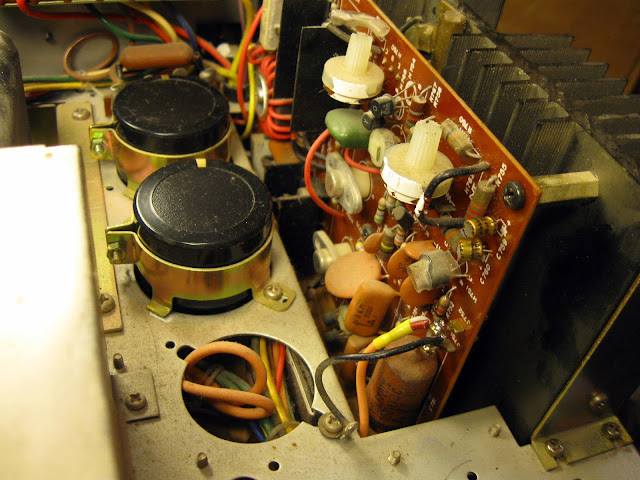
There are two massive main electrolytic capacitors, 9000 uF each at 55V.

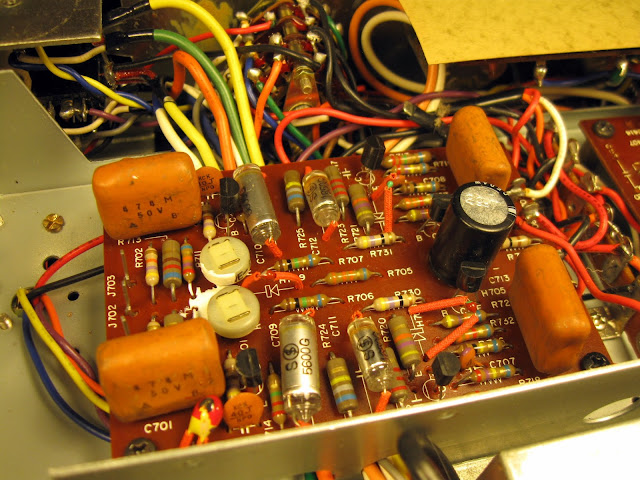
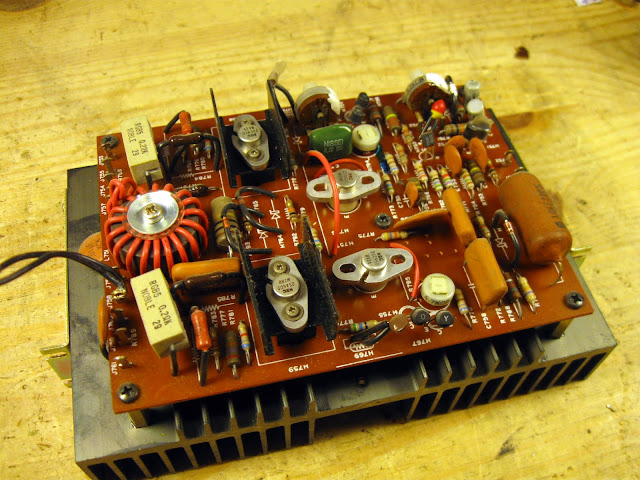
Power supply:
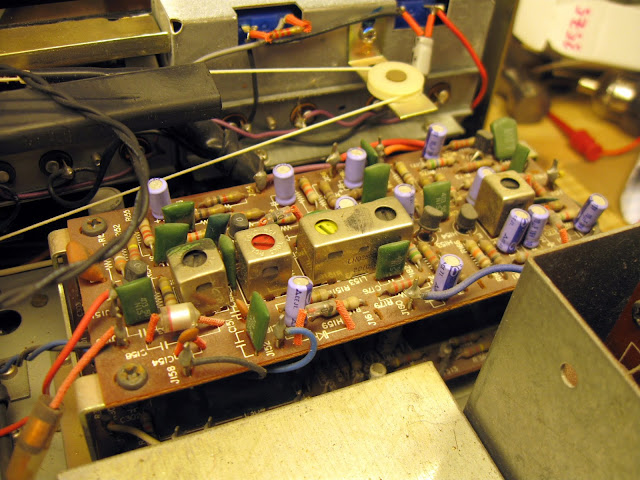
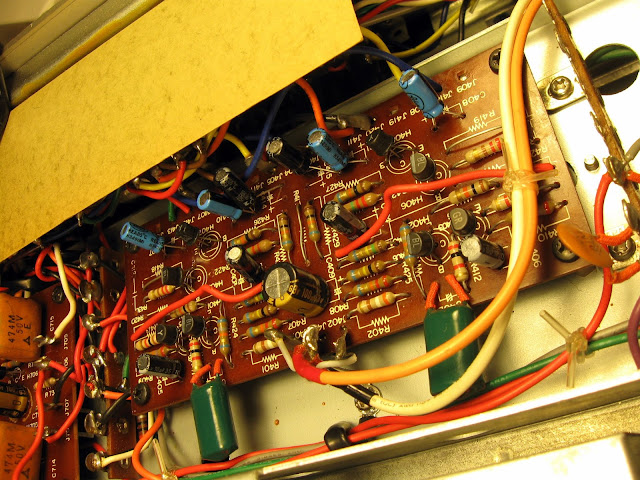
AM board:
Phono preamp board:
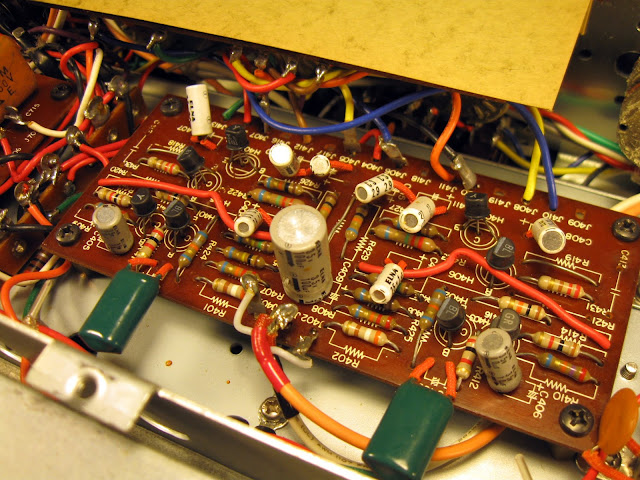
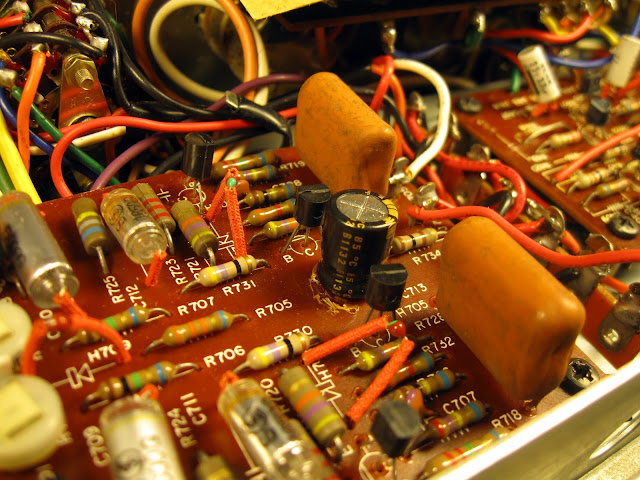
Tone amplifier board:
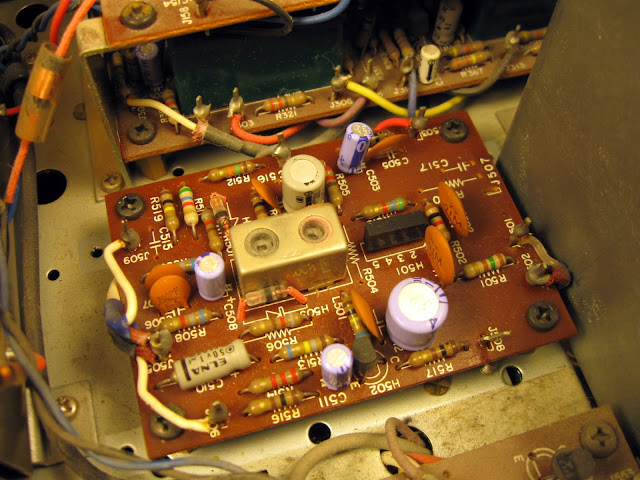
FM detector board:
First thing’s first, the capacitor replacement. I went slowly, working one board at a time and powering up after each. There were no surprises along the way, and the receiver’s design made it quite easy to work on.
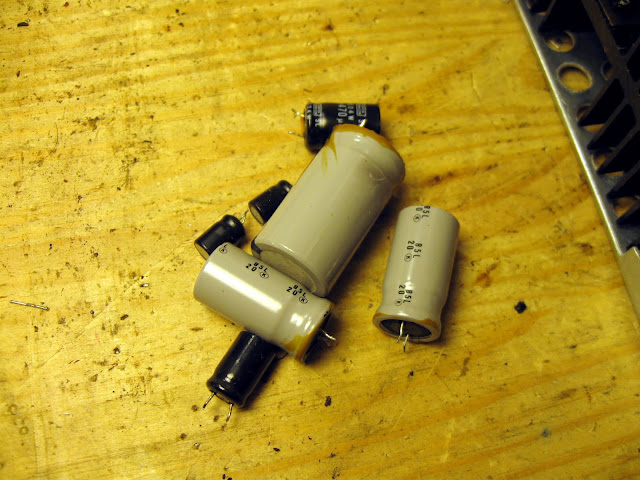
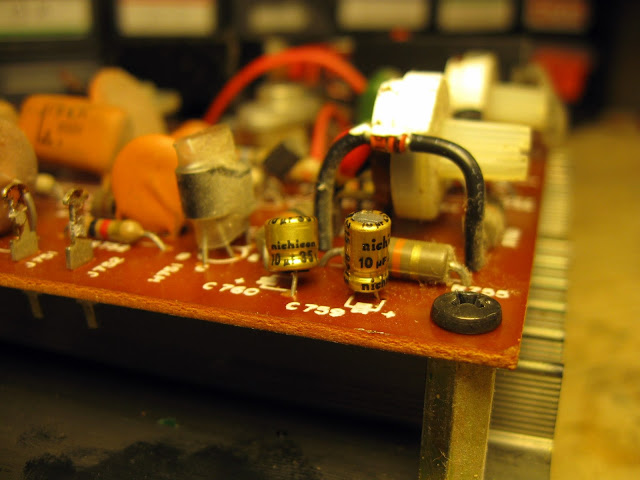
There’s some errata on the AM board. One capacitor’s polarity silkscreen is backwards, and one lacks a silkscreen entirely.
The replacement main filters are much smaller than the originals. They’re being run slightly de-rated; I believe these have a minimum 20,000 hour working life and should last much longer than that as de-rated.
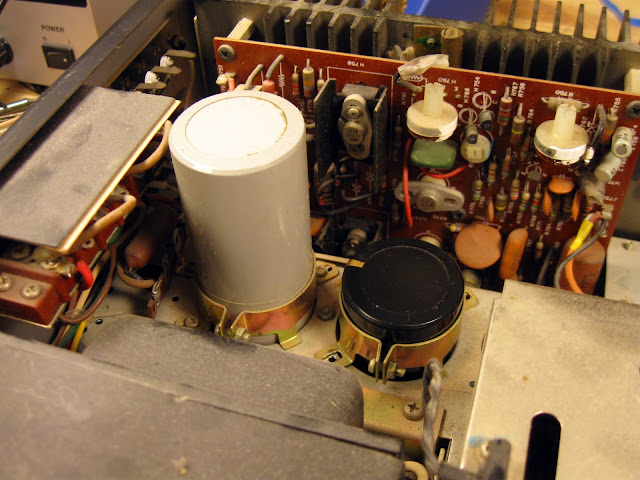
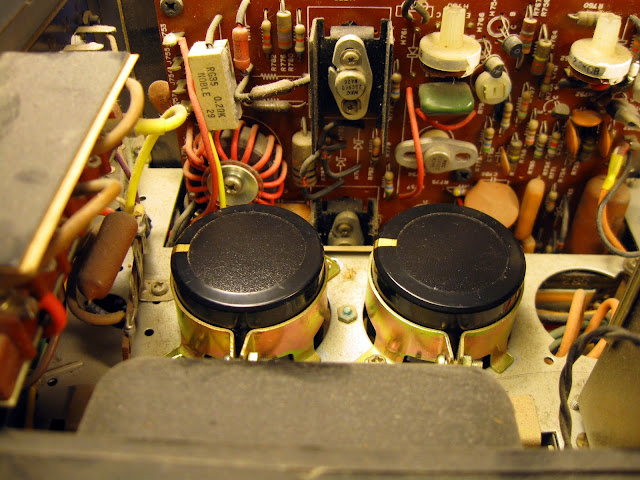
The smaller caps will help the air flow in the receiver a bit, too. The only challenging part was getting the final amplifier boards out of the case to rebuild.
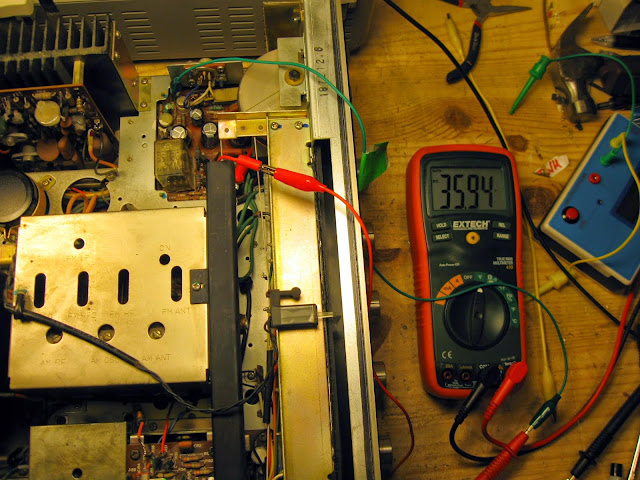
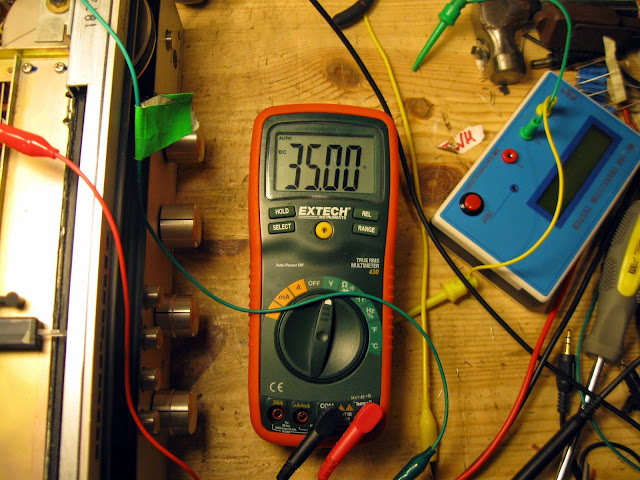
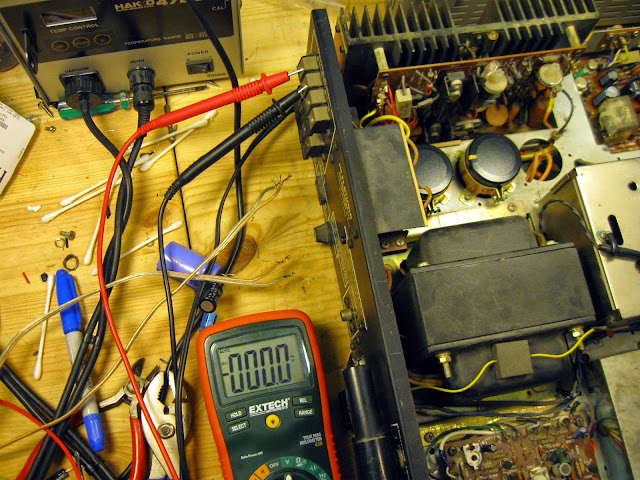
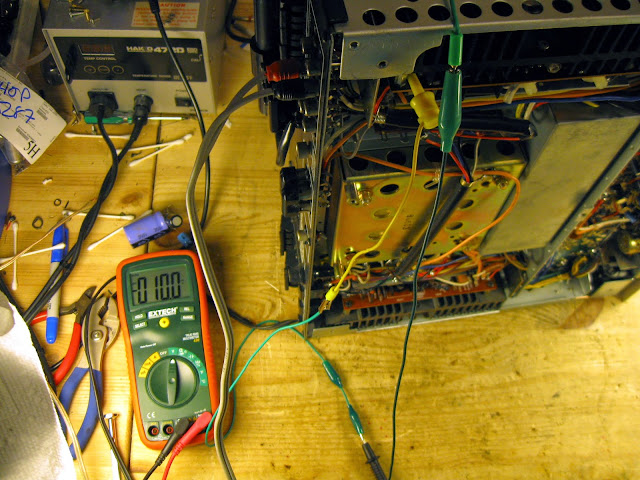
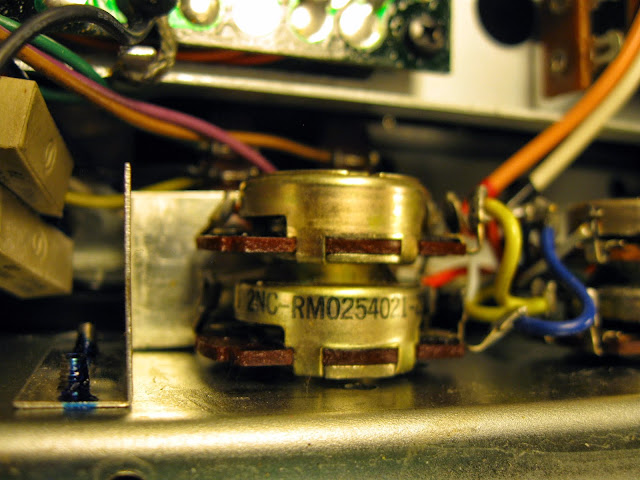
With those checks completed, it was ready for finish work! First was the master power supply adjustment. With the multimeter connected between J802 and J803, I adjusted the power supply trimmer for 35V.
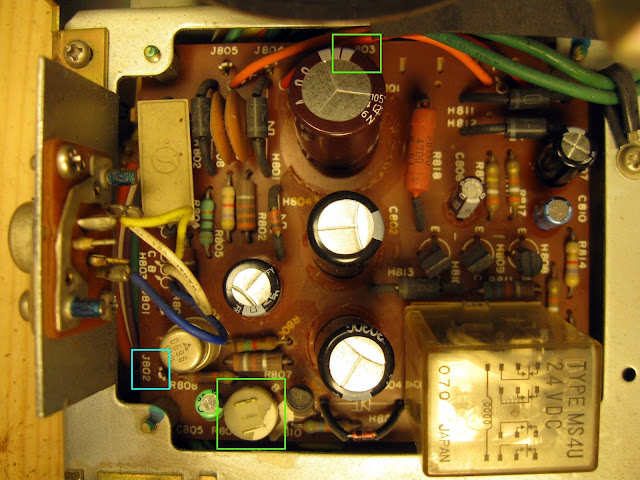
Then it was time to adjust the DC offset on the speakers for 0.0 mV. One channel was pretty significantly off, measuring 43.1 mV; the other measured -6.3 mV. Both reset to 0 without any issue.
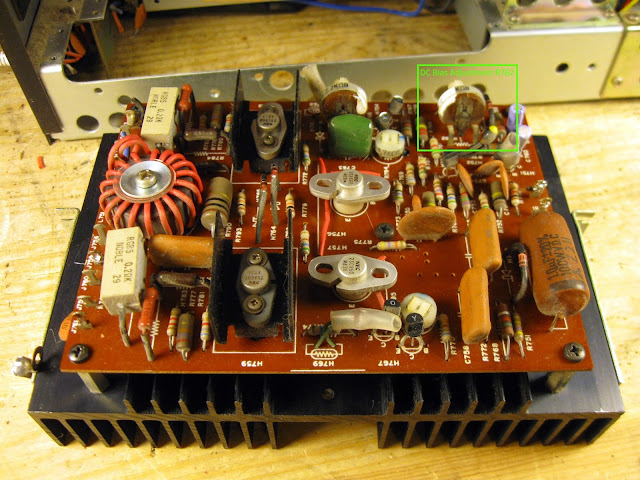
Then it was time to adjust the bias. There’s an error in the service manual here as well – if you followed the instructions, you’d never get it as it tells you to measure between two points which don’t vary and adjust to the wrong value. The correct adjustment is 10 mV.
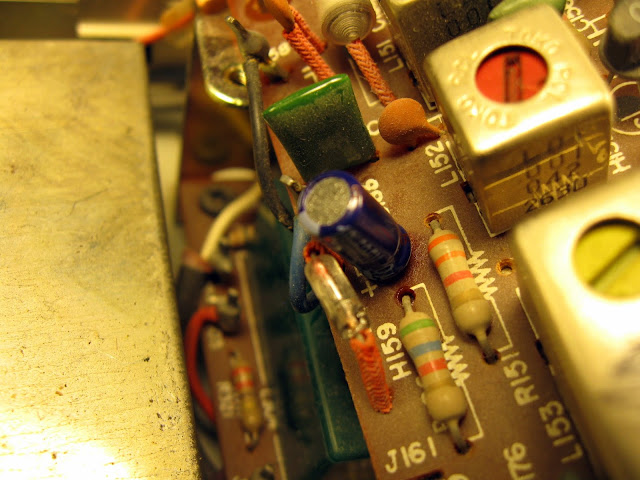
With the receiver’s power supply and amplifier fixed up, I cleaned the controls. They were pretty easy to get to, open style controls. Very easy to clean with control cleaner and lubricant, but easy to get gunked up over the years. To ensure each control was properly cleaned, I turned the amplifier up with no signal and worked each control and switch back and forth making sure the crackles and rumbles which were previously present were gone.
Then it was onto a full AM and FM alignment on the receiver as well. The dial was significantly off on FM, and AM reception was very poor.


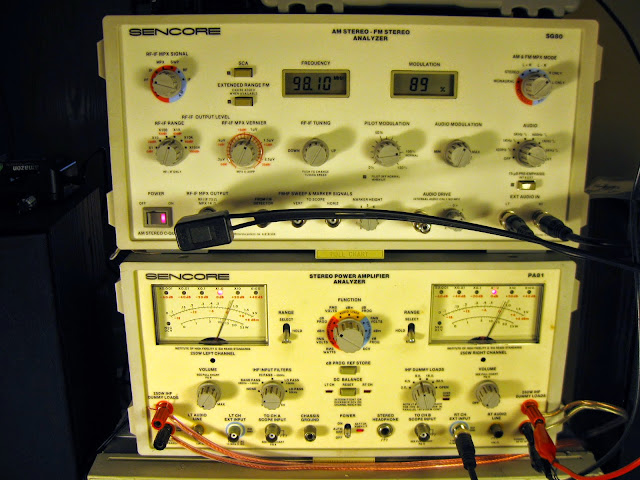
With this receiver there’s a series of adjustments to make. The AM alignment is pretty straightforward, substantially similar to an AM alignment on any other kind of radio receiver. The FM alignment, however, was an assortment of about 12 different adjustments targeting “minimum distortion”. Fortunately, that’s where my THD analyzer comes in handy:
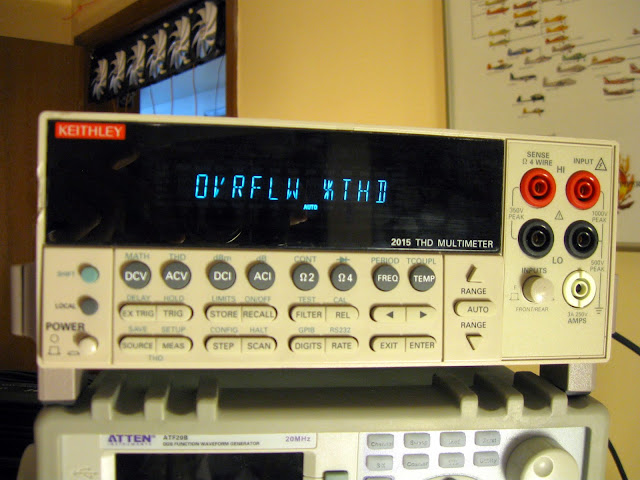
The analyzer has a built in low-noise signal source, which I fed into the external modulation input of my AM/FM Stereo Analyzer, which fed the signal to the Marantz’s 300 Ohm FM antenna input over a length of twinlead.
With the FM adjusted for minimum distortion (best alignment), it was time to characterize the amplifier’s power output. Marantz specified 45 W/channel from 20 Hz – 20 KHz at 0.3% THD. Upon measurement, the actual receiver produced 0.101% THD 0-45W, and kept on going up to about 65W although at 20% THD. I’d never recommend overdriving the amplifier like that, but it does have some headroom. I’m going to go ahead and say it’s running better now than it did when it was brand new!
If you have a stereo receiver that’s on its original components and it’s just starting to act up, don’t wait to have it serviced until it goes out entirely – proactive tune-ups are much cheaper than repairing a catastrophic failure, and you’ll be able to enjoy your stereo for many years to come, just like the owner will enjoy this Marantz.

Pingback: Marantz 2245 | Classic Receivers
Do you have a wiring diagram for the new power capacitors? I see 4 prongs on the new ones. Do the originals have the same amount?
Datasheet for the cap will tell you which terminals go to what. Only 2 are actual electrical connections. The others just hold the cap onto the board more securely and you can leave them off.
do you have a wiring diagram for the new power capacitors?
Pingback: Marantz 2245 | Classic Receivers
I have a marantz 2245 receiver. The on/ off push button is stuck on. Do you sell a replacement switch?
I don’t, but I’m told these work well: http://amzn.to/1J73qun